More Ways to Decorate Easter Eggs

There are so many creative ways to decorate eggs for Spring. First I want to show you some Easter projects from our house, then I’ll share some of my favorite egg decorating ideas from Pinterest.

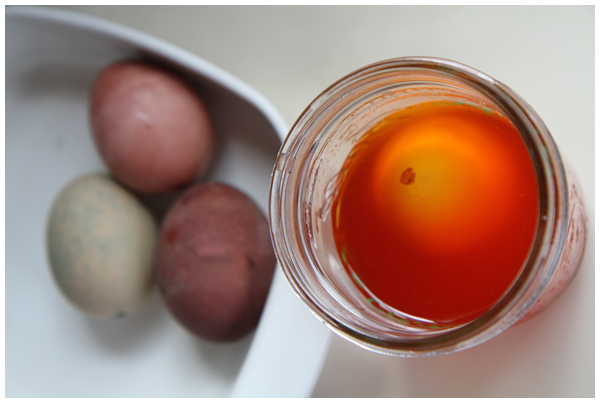
This year we’ve dyed eggs with natural ingredients:

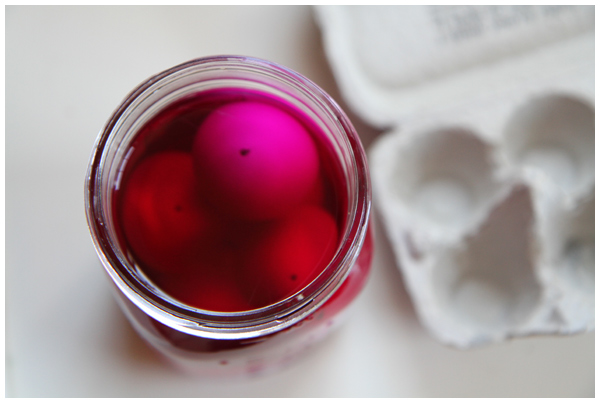
Dying eggs naturally with ingredients from the kitchen pantry

(Above, the deep red eggs on the left were dyed with red onion skins and cabbage; the egg on the right is immersed in a saffron dye bath.)

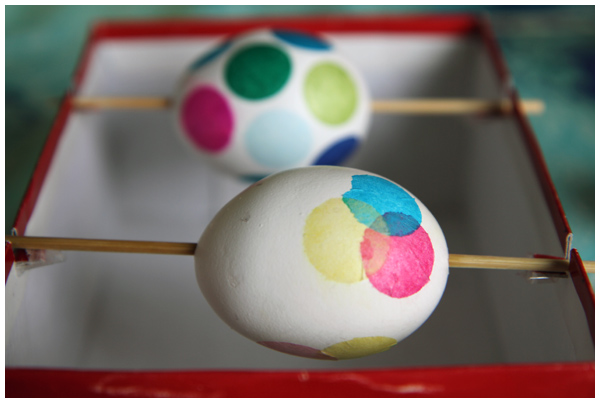
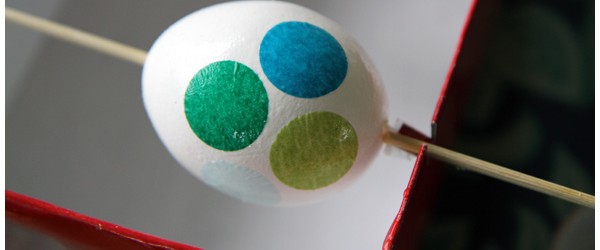
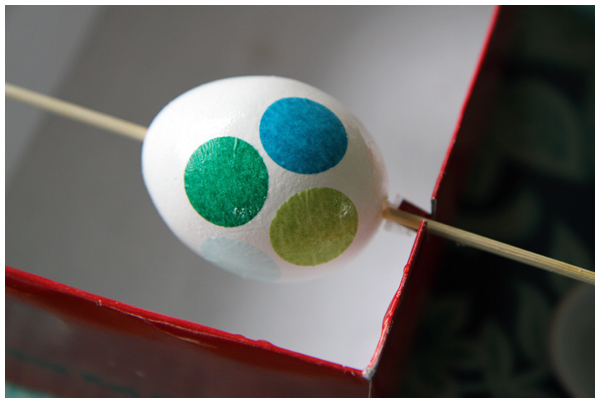
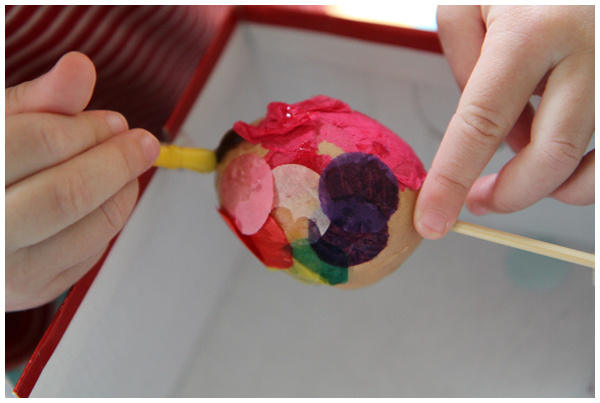
We’ve also decoupaged small tissue paper circles to our eggs for a fun color-mixing lesson:

Tissue paper circles decoupage Easter eggs

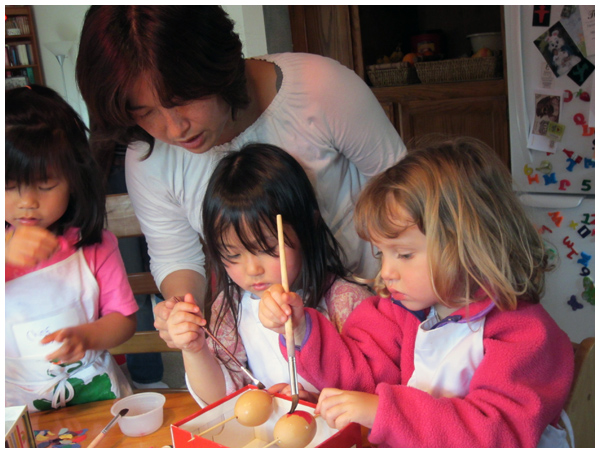
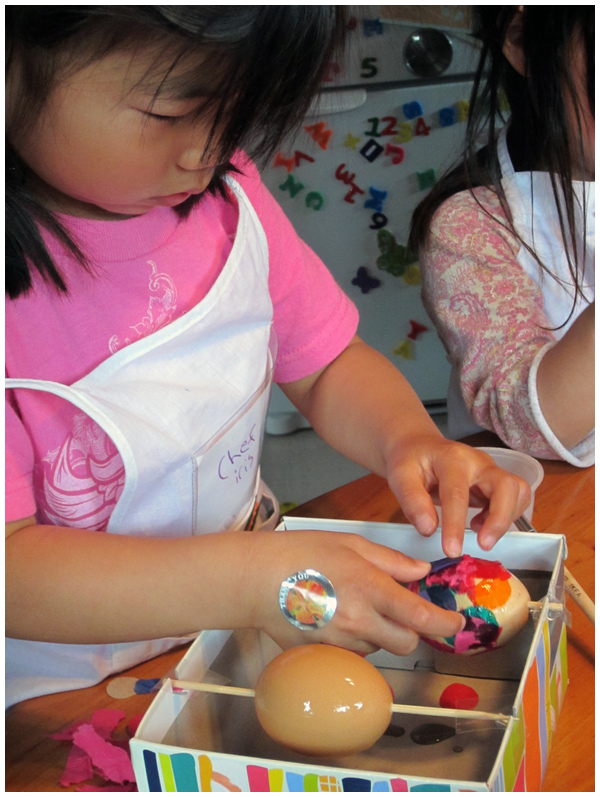
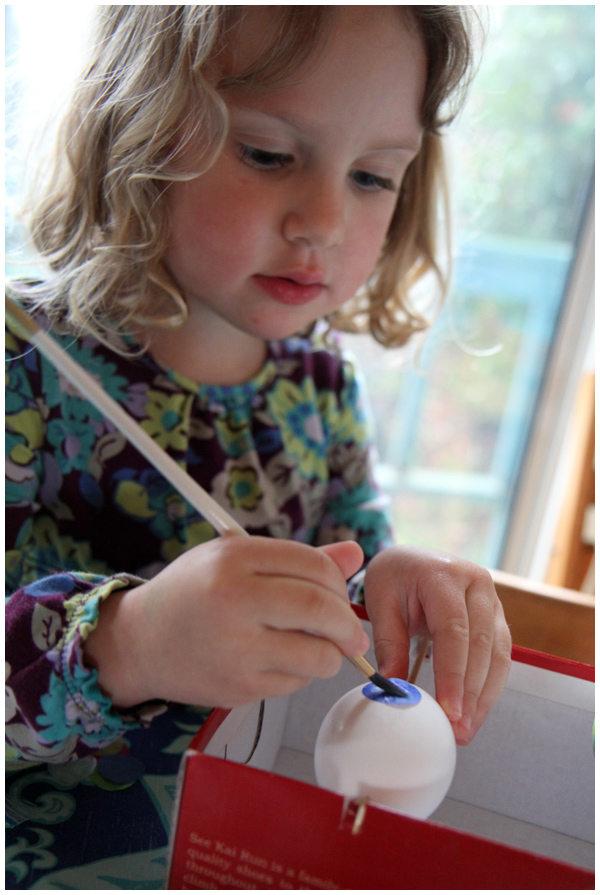
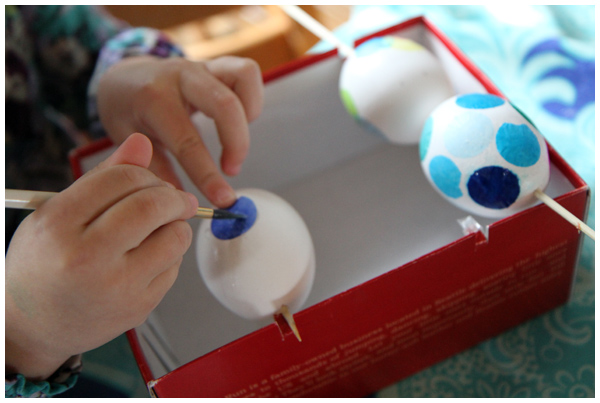
(Using skewers laid across shallow slits made in a toddler-sized shoe box worked perfectly for securing the eggs and allowing us to decorate the entire egg at once without get our fingers dirty or having to wait for the egg to dry while we worked!)

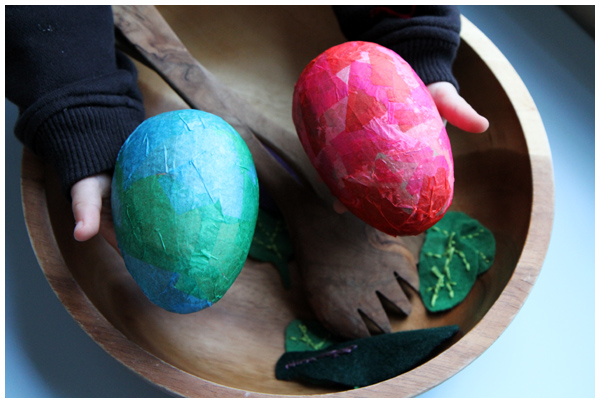
Last year we decorated oversized paper mache eggs with brightly colored tissue paper:
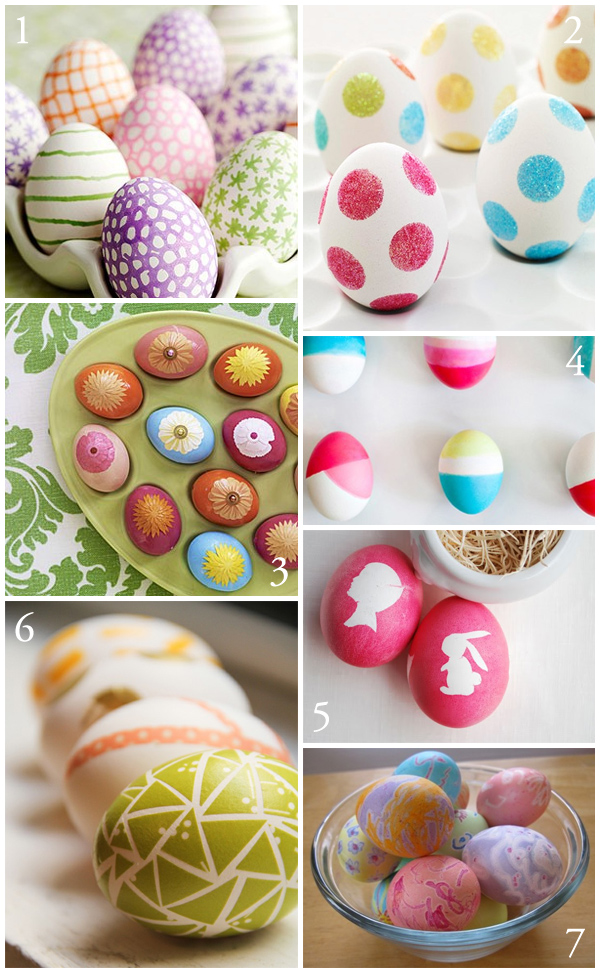
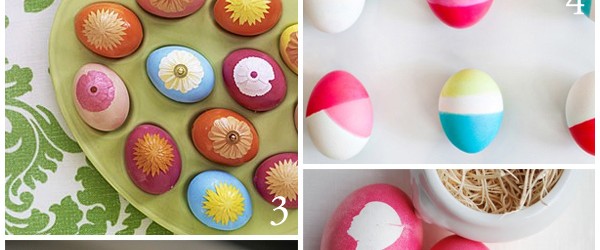
Here are some other fun ideas from my Spring Holiday Inspiration board on Pinterest:

Featured above:
1. Eggs decorated with edible ink pens (pin/source)
2. No dye Easter eggs (pin/source)
3. Decoupage flowered Easter eggs (pin/source)
4. Dip dyed eggs (pin/source)
5. Silhouette Easter Eggs (pin/source)
6. Washi tape Easter eggs (pin/source)
7. Melted crayon Easter eggs (pin/source)

I am blown away by the creativity out there on the web!

View these and many more Spring holiday crafts and activities on my Spring Holiday Inspiration Pinterest board.

(images obtained via Pinterest)
Decorating Easter Eggs With Tissue Paper

Last week we shared with you a quick and easy way to blow out eggs and how we dyed Easter eggs using natural ingridents found in our kitchen. This past week we’ve been decorating eggs with tissue paper, an easy and fun decoupage project!

Decoupage Easter eggs with tissue paper circles

My friend Dorothee cut notches in the top of toddler sized shoe boxes, so we could lay eggs speared with wooden skewers across them. What an easy way to hold the eggs! Using the skewers made for MUCH less mess than our holding the eggs for our kids while they decorated them:

Decoupage Easter eggs with tissue paper

We used small tissue paper circles (a great thrift store score!) and cellulose glue (you could easily use Mod Podge!) to glue the tissue paper to the egg. Be sure to do a coat of glue on top too so the circles stay on securely.

Decoupage Easter eggs with tissue paper circles

Mama had fun decorating eggs too:

Decoupage Easter eggs with tissue paper circles

Learning to Weave

Our daughter recently expressed an interest in learning to weave. (Oh, how we love a new art project!) As a child, I took weaving classes and even owned a full-sized loom on which to practice. I know first hand how good it feels to weave something from scratch!

Daughter learning to weave

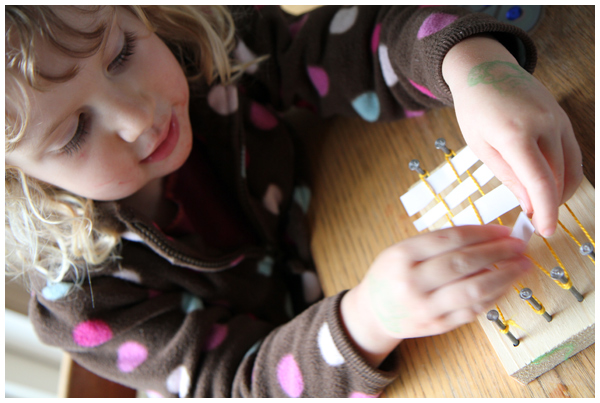
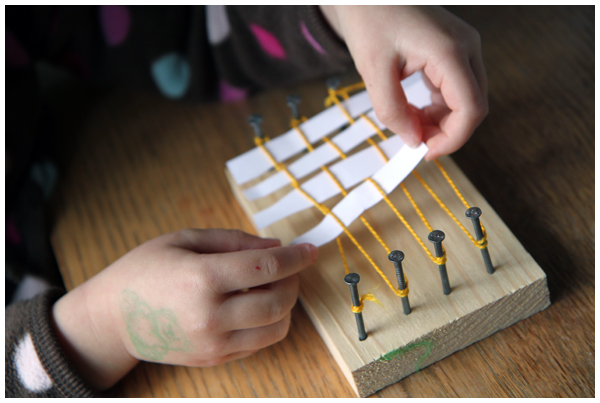
Our daughter first practiced weaving on a little handmade loom (made of nails and wood) using small slips of paper:

Daughter learning to weave

Practicing moving the paper over, under, over, under.

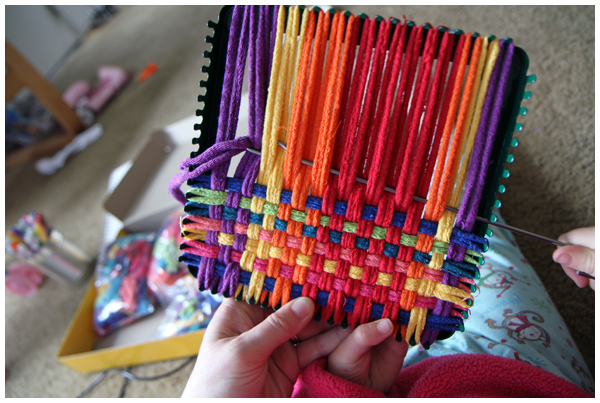
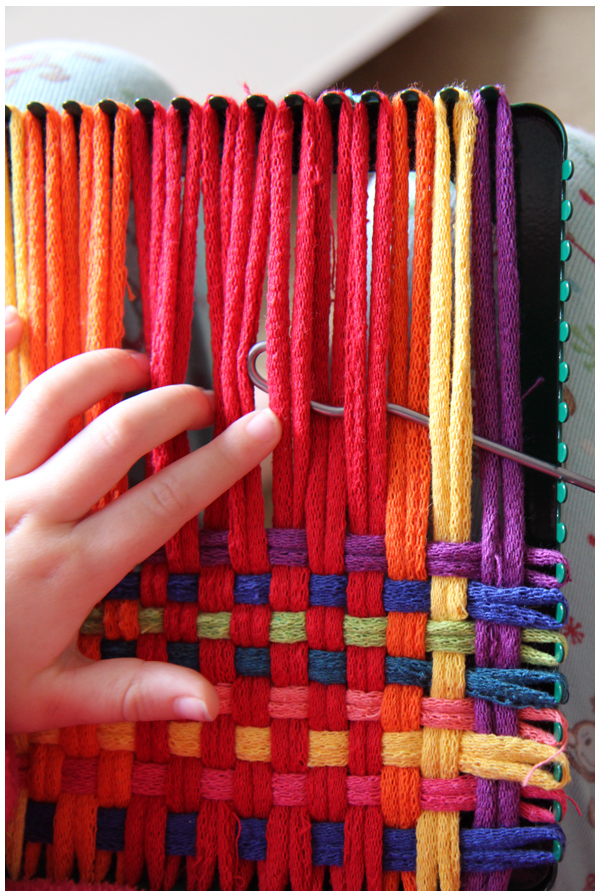
She then graduated to a sturdy metal potholder loom (made in the USA by Harrisville Designs who primarily manufactures full-sized looms). I particularly like this metal loom because the loops stay on the metal hooks, instead of popping off the frame over and over again as they tend to do with plastic or wooden looms.

Daughter learning to weave

Our daughter has been steadily working away on holiday presents for the grandparents. I’ve found we can never start those handmade gifts too early, especially when it takes our four year old several weeks to complete one potholder!

Daughter learning to weave

Next up we’ll weave on a laploom or weaving frame. I have fantasies of owning a table loom (like the one I learned on as a girl!). We may need two though because I’m not sure how we’ll share. ;)

Dying Eggs Naturally

The winter rains have finally arrived to Sonoma County, yet the former East Coaster in me can’t help but feel that Spring is really here each time we don our rain gear and head out into the March rains. Our garden is in heaven!

This past week we’ve been busy with Spring crafts, blowing out eggs, and dying them with ingredients found in our kitchen. We’ve found natural-egg dying to be incredibly easy and fun, thanks in large part to this excellent list of all-natural Easter egg dye recipes from Better Homes and Gardens (pinned here on Pinterest).

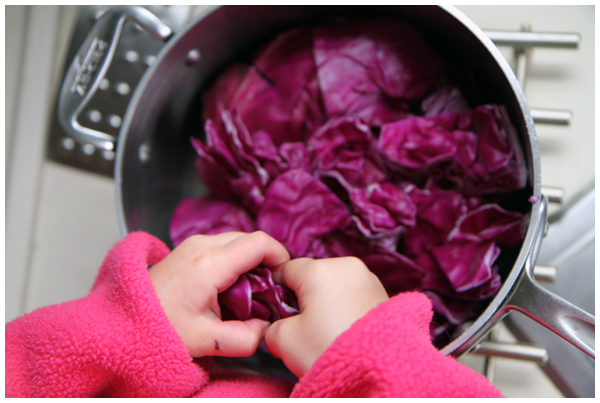
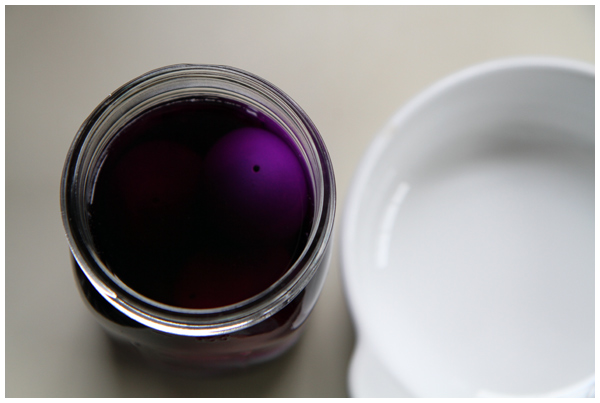
Our favorite and most vivid dye so far? Cabbage!

Preparing cabbage Easter egg dye
Dying eggs naturally with ingredients from your kitchen

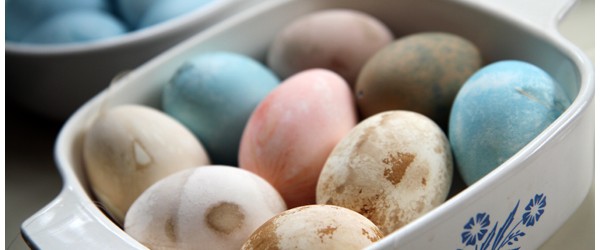
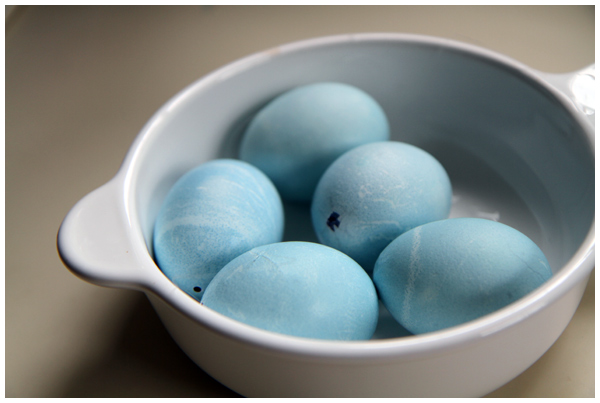
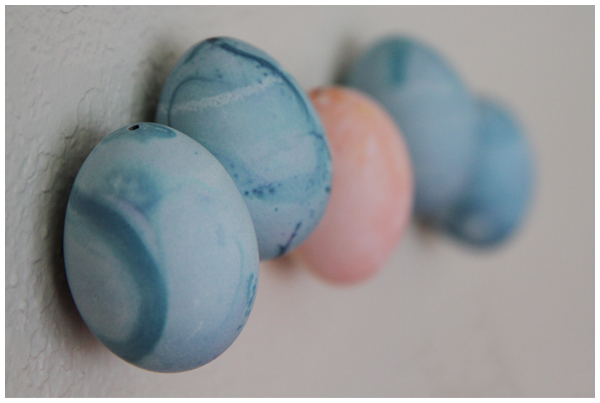
From the color of the dye you might expect bright red or purple colored eggs, yet red cabbage makes for the most beautiful light blue eggs instead. (Such a fun Everyday Learning project for the kids! We’re all about science in the kitchen.)

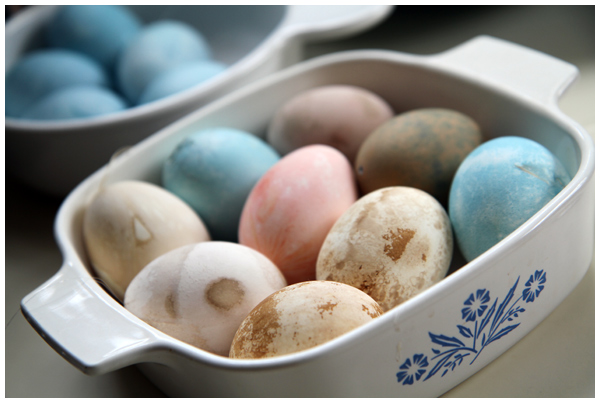
While the eggs dyed with cabbage and saffron were vivid, the other ones we tried (tea, beets, and paprika) were less successful:

Dying eggs naturally with ingredients from your kitchen

I’m still hoping to try yellow and red onion skins (for orange and jade green eggs, respectively), and grape juice to make some lavender colored ones.

In the mean time, look at this fine little row of eggs:

Dying eggs naturally with ingredients from your kitchen

Hands on learning is such fun!

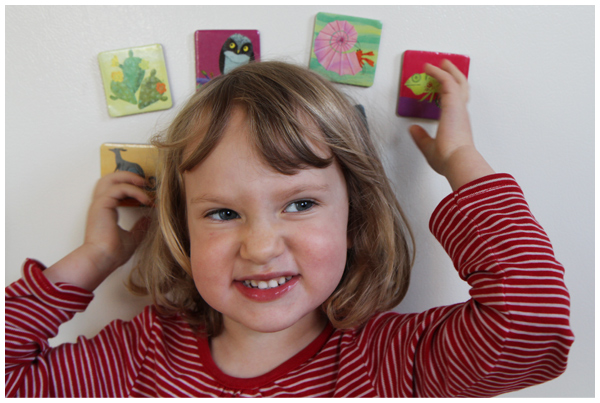
Happy girl -- dying eggs is fun!

Especially when we get to spend a rainy day at home in our pajamas doing art projects in the kitchen.

Happy Spring!

DIY Life on Earth Memory Game Magnets

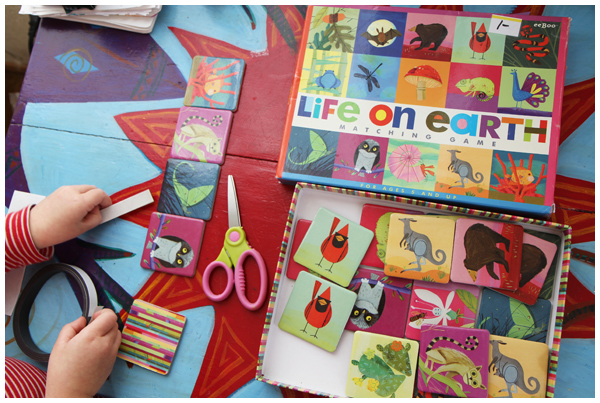
We love the Eeboo Life on Earth Matching Game. When I spotted another copy of the exact same game at the thrift store for $1, I bought it right away. Instead of having two identical memory games, I thought it would be fun to turn this set into attractive magnets for the fridge.

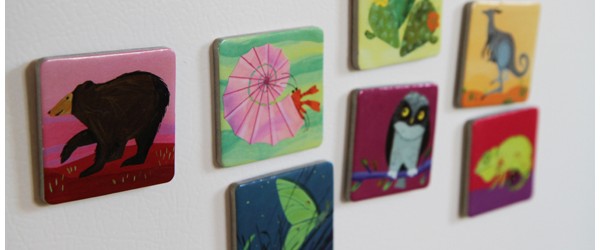
Life on Earth Memory Game Magnets

I love the images on the cards, which are paintings by one of our favorite children’s book illustrators, artist Melissa Sweet. A perfect reuse project!

Life on Earth Memory Game Magnets

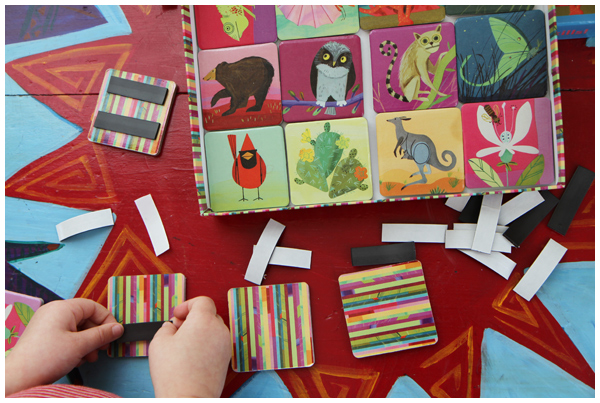
We took each memory game card and stuck two strips of magnet tape to the back of each piece:

Life on Earth Memory Game Magnets

Our magnetic strips came from a craft resale shop (that befits our local hospice), but you can either purchase magnetic tape or reuse any magnets that you have in the house (such as those free ones that come in junk mail).

Life on Earth Memory Game Magnets

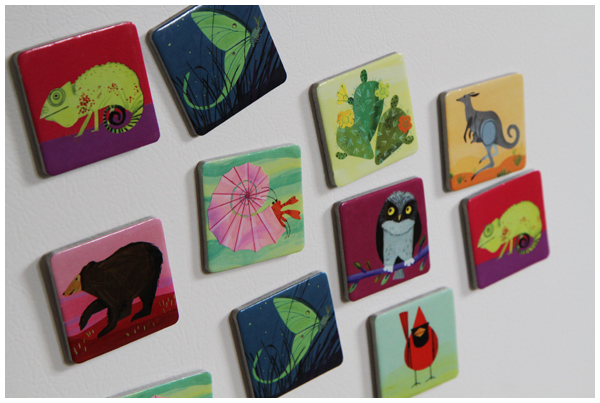
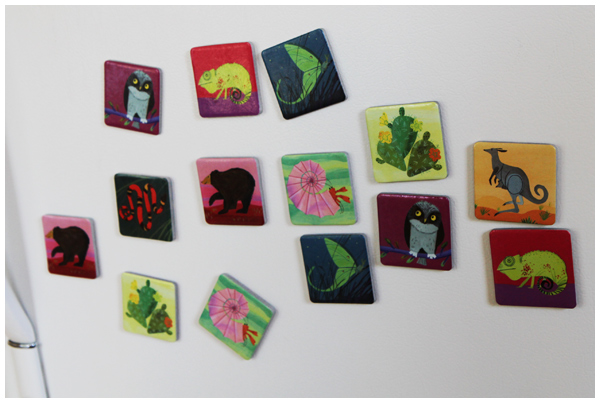
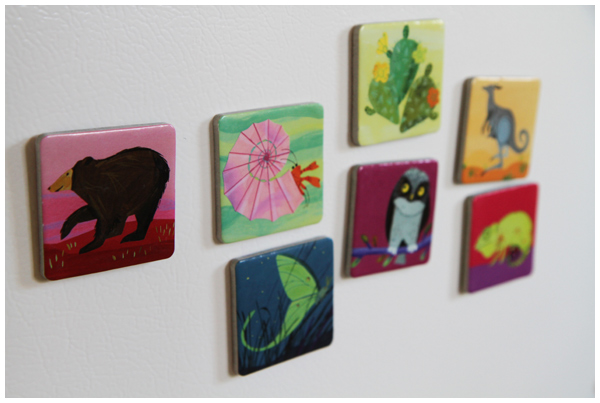
Simple, inexpensive and so attractive — we now own Melissa Sweet magnets!

Life on Earth Memory Game Magnets

I love the vivid colors and biological themes gracing our fridge!

Life on Earth Memory Game Magnets

I think this project was a hit.