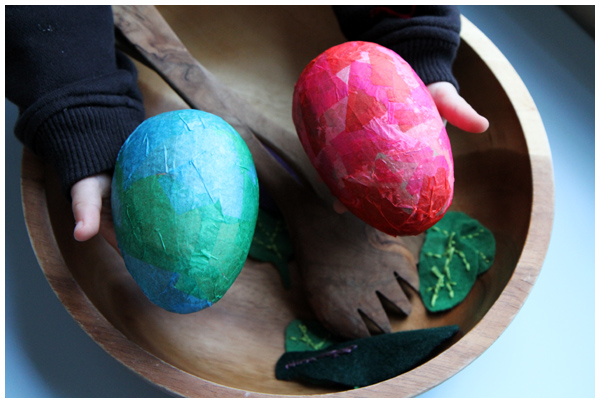
A simple, fun decoupage project for a spring celebration or Easter craft. You could also use this technique to cover balls with blue and green tissue paper for a fun Earth Day project.
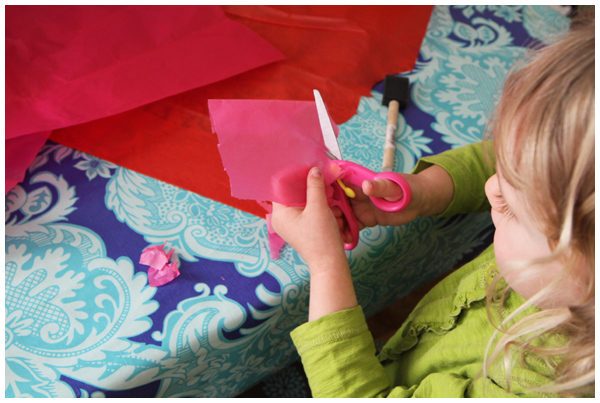
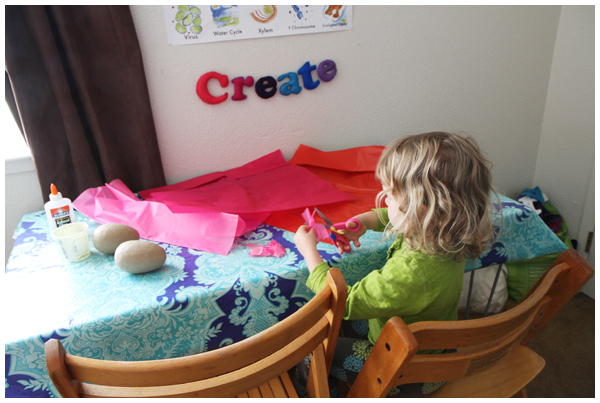
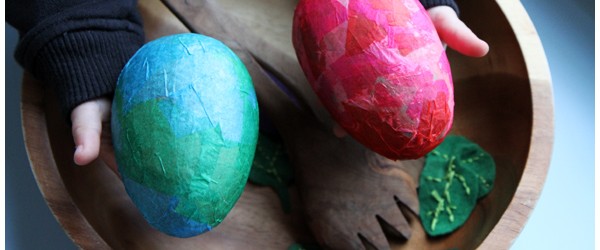
We covered these paper mache eggs with watered down glue and colorful tissue paper.
After we glued the tissue paper on the egg, we painted over the tissue paper layer with more watered down glue to smooth out the layer of paper and ensure that is was properly adhered.
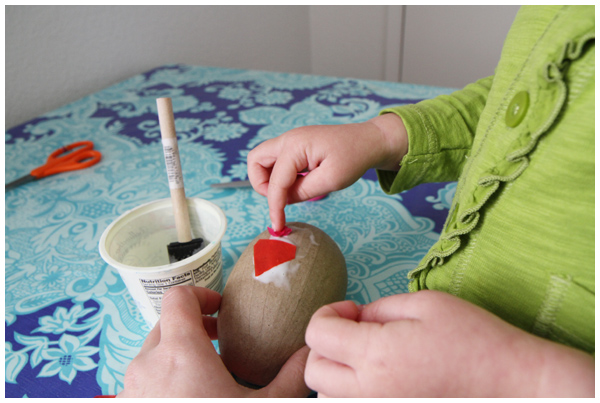
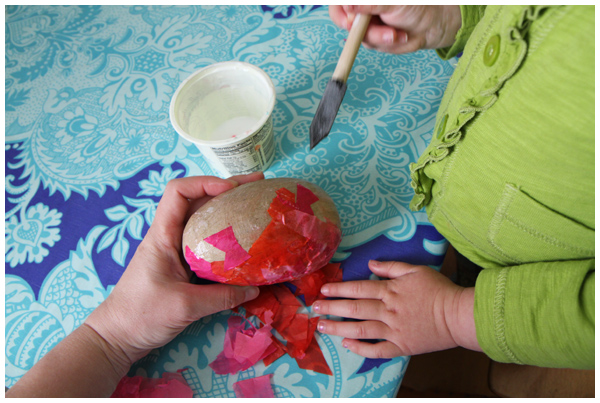
The toddler wants me to add that “we got our hands all covered with stuff… with red tissue paper!” Translation: the color from the tissue paper may bleed all over your fingertips. This only happened with the red and pink tissue paper; the blue and green tissue paper didn’t bleed on us, so different brands and different colors may make a difference.
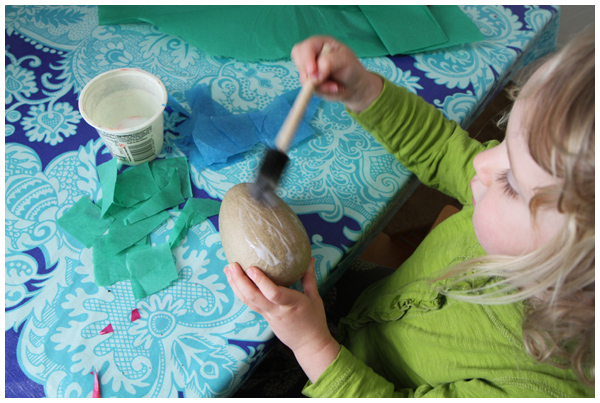
Our eggs, shown below while they were drying, have a matte finish. I may apply a coat of glossy mod podge to create a sheen, but for now we are enjoying them.
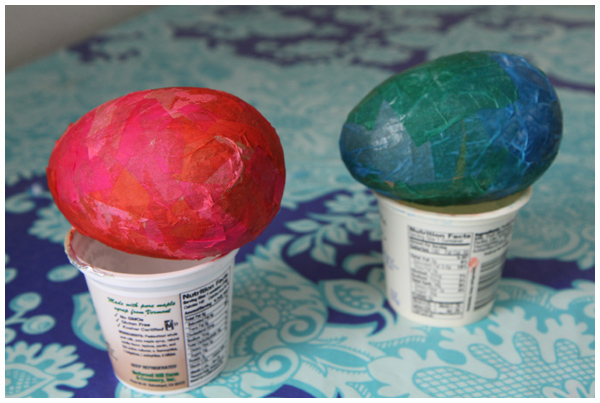
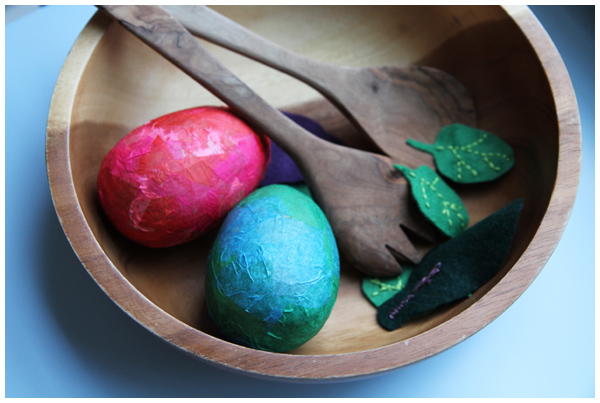
To no one’s surprise, both of these decoupage paper mache eggs have made their way into the play kitchen.
For more information about decoupage, see our Picture Frame Decoupage Project post.
Looks like the upstairs art table is working out beautifully! This is such a pretty project, and so great that it builds on (and displays!) Miss Leyba’s acquired expertise in decoupage. Nothin’ wrong with a nice hard-boiled egg in one’s salad. ;-)
looks like fun! did you make the eggs before hand?
We bought the paper mache eggs at our local craft store!
What a great craft idea! I think I’d like to give this one a try! I absolutely love the chubby hands and fingers of your little toddler – sooooo cute!