Easter Crafting

Last minute crafting for Easter

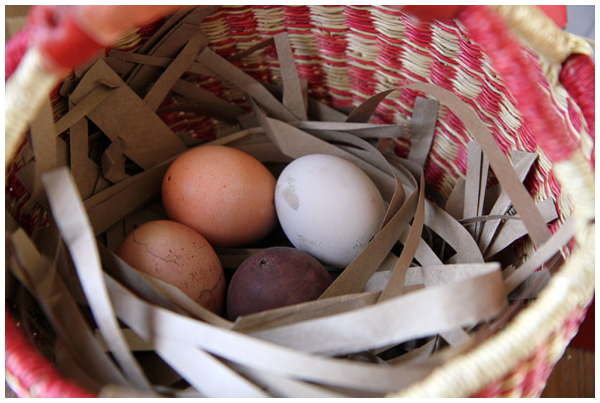
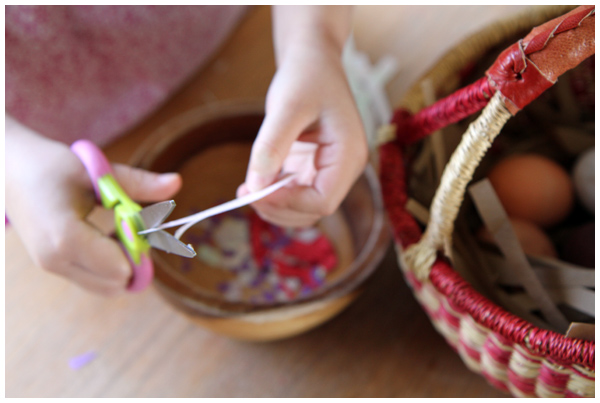
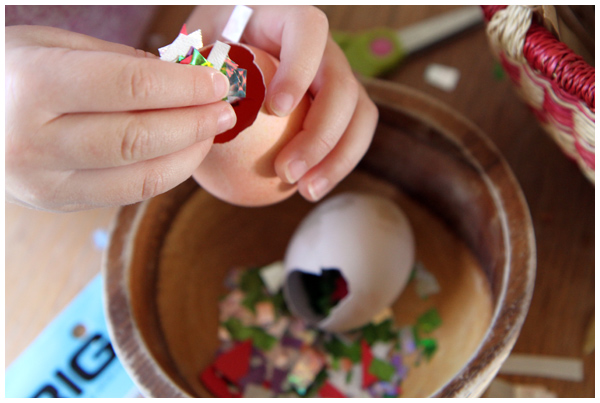
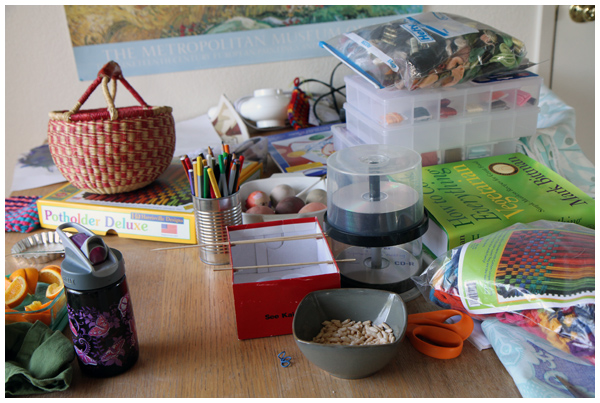
I know that buried under all that craft mess there’s a kitchen table somewhere. We haven’t seen it in a few days, but it’s there waiting for us to finish our Easter crafting. I don’t actually miss it all that much. We’re having too much fun sewing, cutting, dying, filling… and we’re in the homestretch!

May you all have a wonderful weekend!

More Ways to Decorate Easter Eggs

There are so many creative ways to decorate eggs for Spring. First I want to show you some Easter projects from our house, then I’ll share some of my favorite egg decorating ideas from Pinterest.

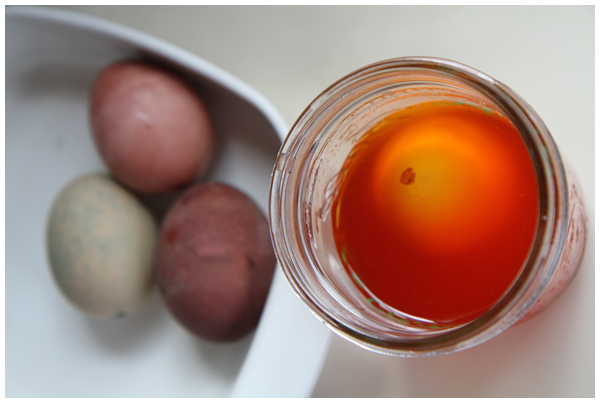
This year we’ve dyed eggs with natural ingredients:

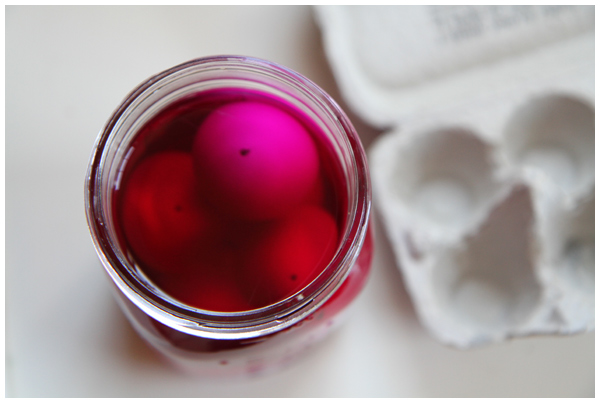
Dying eggs naturally with ingredients from the kitchen pantry

(Above, the deep red eggs on the left were dyed with red onion skins and cabbage; the egg on the right is immersed in a saffron dye bath.)

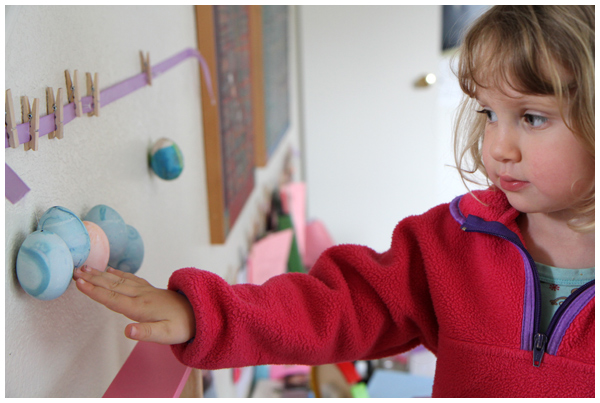
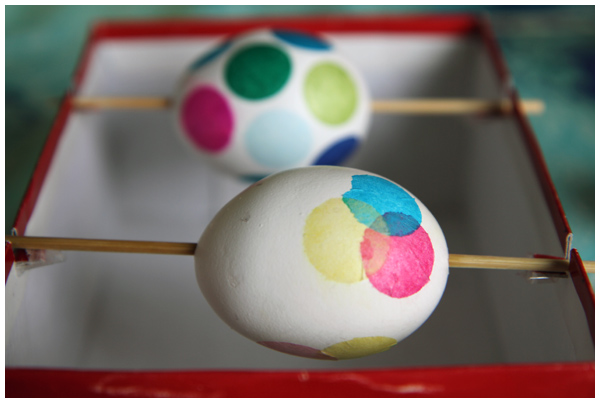
We’ve also decoupaged small tissue paper circles to our eggs for a fun color-mixing lesson:

Tissue paper circles decoupage Easter eggs

(Using skewers laid across shallow slits made in a toddler-sized shoe box worked perfectly for securing the eggs and allowing us to decorate the entire egg at once without get our fingers dirty or having to wait for the egg to dry while we worked!)

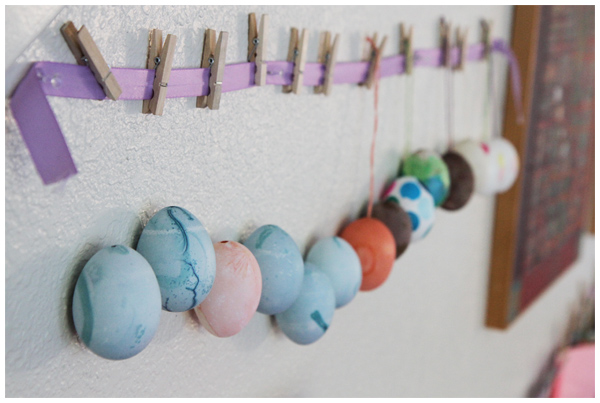
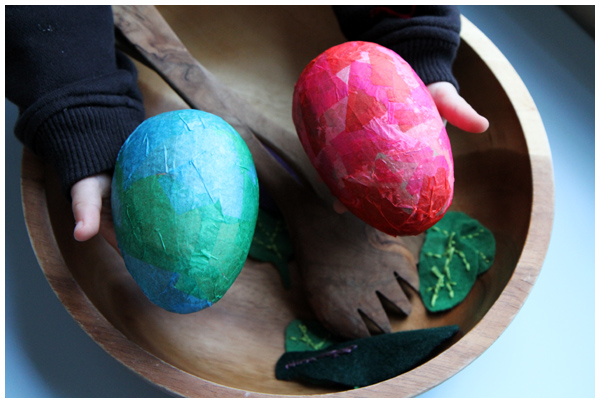
Last year we decorated oversized paper mache eggs with brightly colored tissue paper:

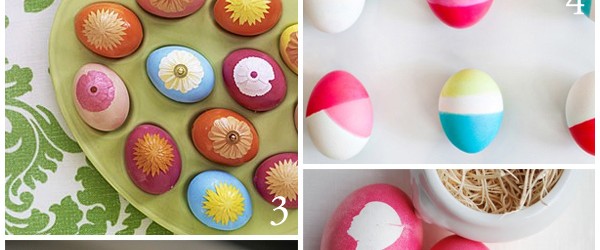
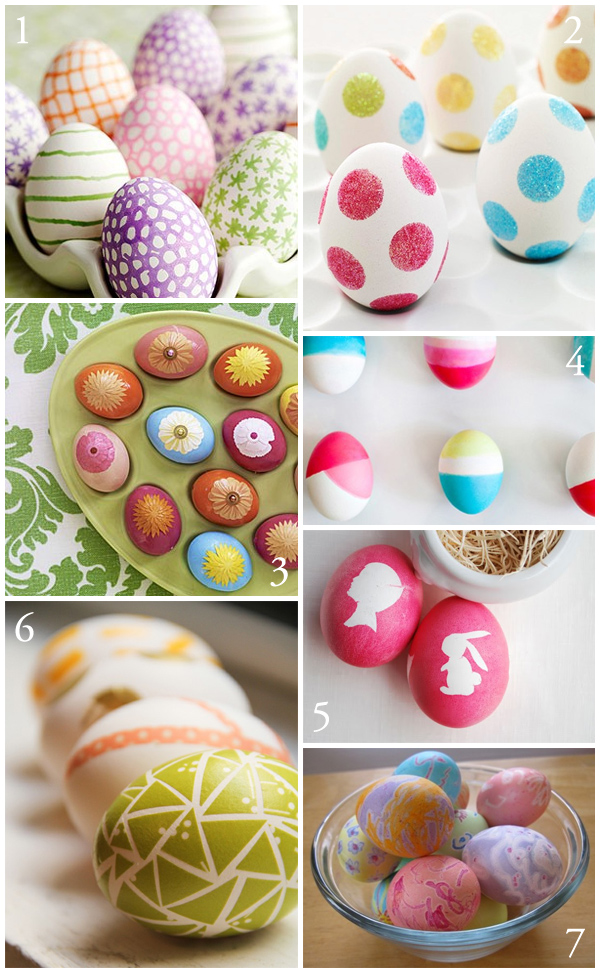
Here are some other fun ideas from my Spring Holiday Inspiration board on Pinterest:

Featured above:
1. Eggs decorated with edible ink pens (pin/source)
2. No dye Easter eggs (pin/source)
3. Decoupage flowered Easter eggs (pin/source)
4. Dip dyed eggs (pin/source)
5. Silhouette Easter Eggs (pin/source)
6. Washi tape Easter eggs (pin/source)
7. Melted crayon Easter eggs (pin/source)

I am blown away by the creativity out there on the web!

View these and many more Spring holiday crafts and activities on my Spring Holiday Inspiration Pinterest board.

(images obtained via Pinterest)

Colorful Little Girl Room Updates

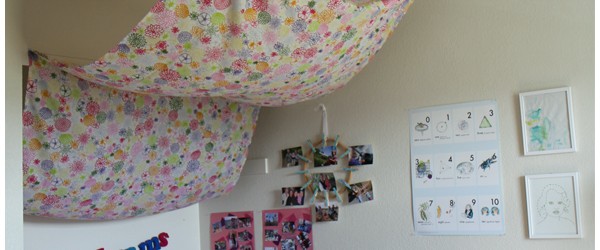
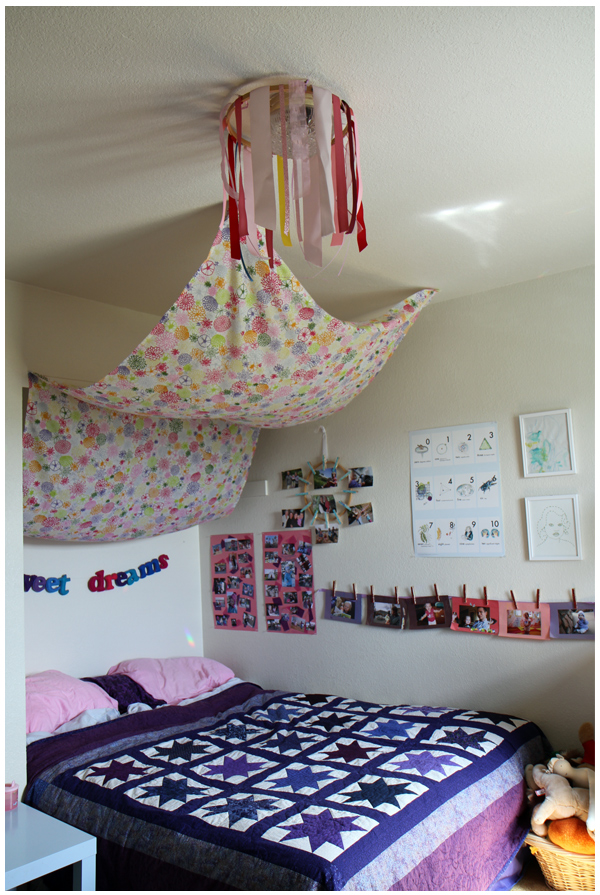
Last year we transformed our spare room (i.e. junk closet!) into a colorful and personalized room for our daughter:

Ribbon chandelier in our daughter's room

I want to share with you two small, colorful additions to our daughter’s room, both projects from her birthday extravaganza in January that have been rather shamefully hanging in our living room for the past three months until now:
– festive and colorful ribbon chandeliers and
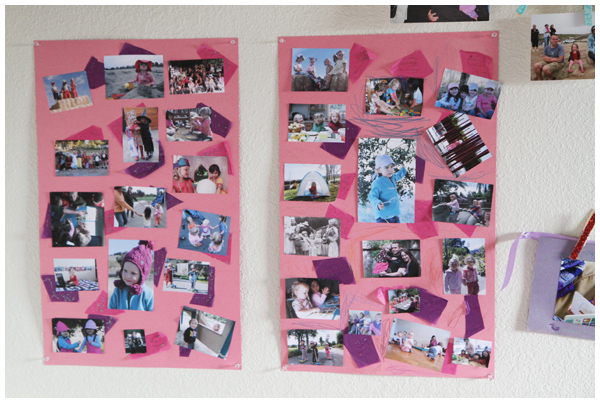
– collages featuring photos of our daughter and her friends over the past four years.

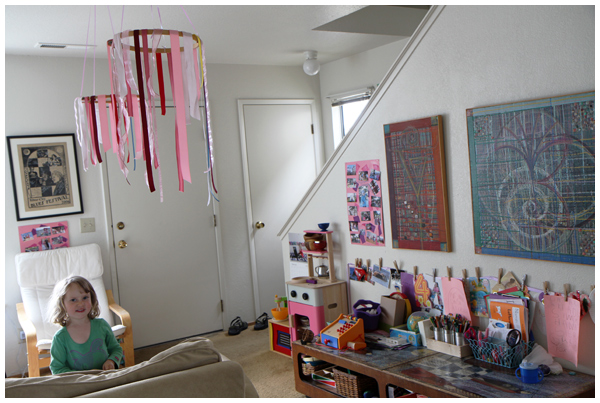
Ribbon chandelier in our living room after our daughter's birthday party

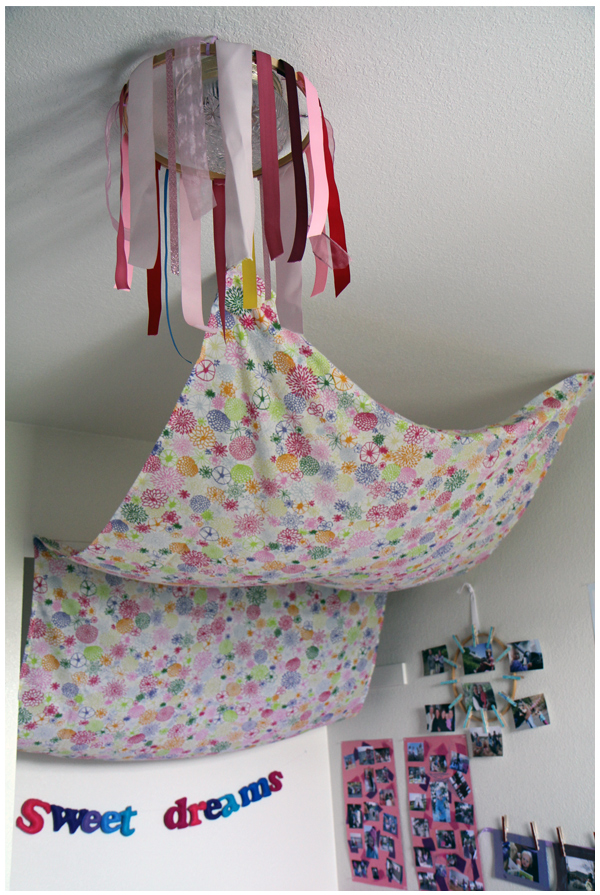
We took our ribbon chandelier (i.e. ribbons hung on an embroidery hoop) and placed it around her light fixture, dressing up an otherwise very hum-drum light (ah, the downside to renting!).

Ribbon chandelier in our daughter's room

After two months hanging in the living room over the couch, we’re so glad to no longer be bumping into the ribbons every time we sit down.

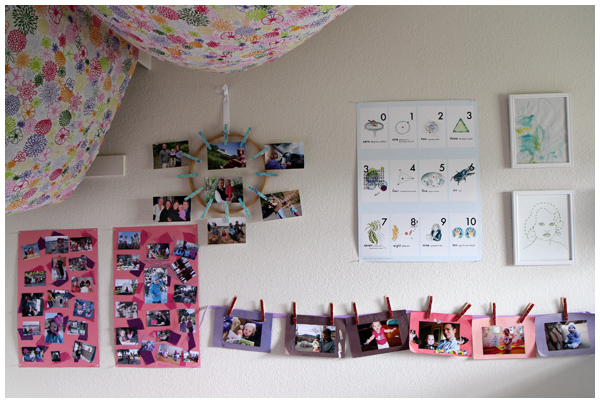
We hung the photo collages of our daughter and her friends above her bed:

Photo collages to personalize her little girl room

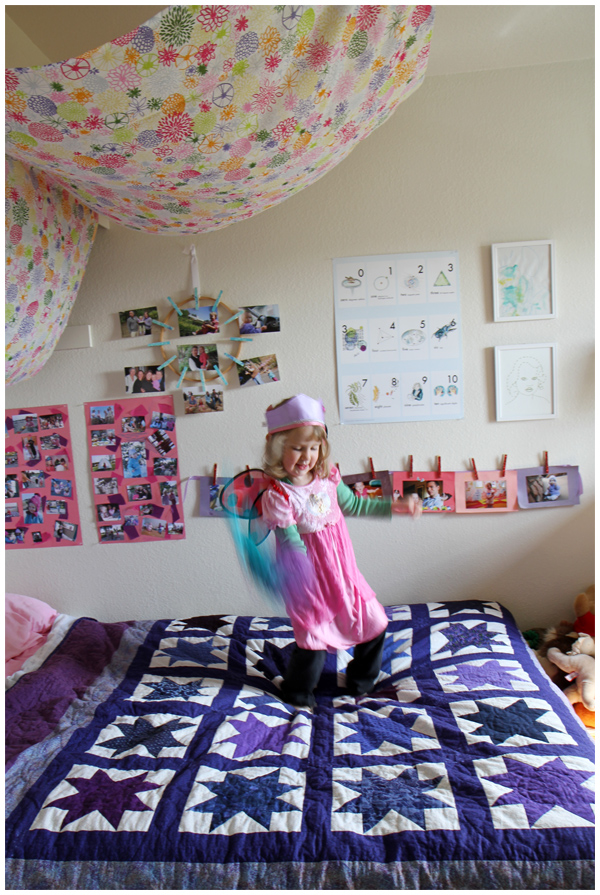
Such a sweet space for our daughter:

Butterfly princess daughter jumping and dancing on her bed, loving her room

Click here to see all of our posts about our daughter’s room transformation, including our handmade felt banners, embroidered portrait, nerdy posters, and repurposed photo wreath frame.

Dying Eggs Naturally

The winter rains have finally arrived to Sonoma County, yet the former East Coaster in me can’t help but feel that Spring is really here each time we don our rain gear and head out into the March rains. Our garden is in heaven!

This past week we’ve been busy with Spring crafts, blowing out eggs, and dying them with ingredients found in our kitchen. We’ve found natural-egg dying to be incredibly easy and fun, thanks in large part to this excellent list of all-natural Easter egg dye recipes from Better Homes and Gardens (pinned here on Pinterest).

Our favorite and most vivid dye so far? Cabbage!
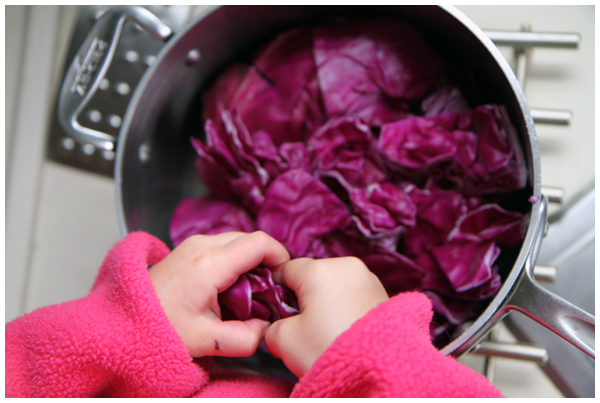
Preparing cabbage Easter egg dye
Dying eggs naturally with ingredients from your kitchen

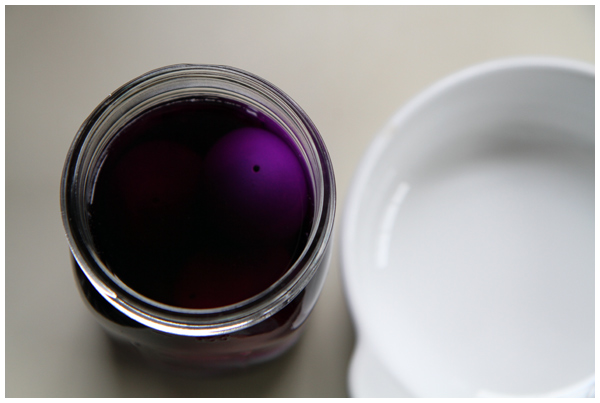
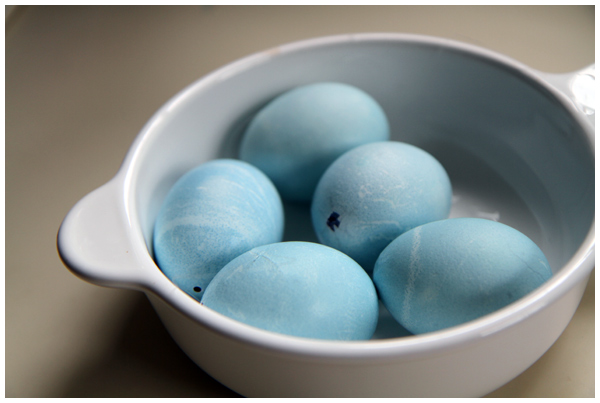
From the color of the dye you might expect bright red or purple colored eggs, yet red cabbage makes for the most beautiful light blue eggs instead. (Such a fun Everyday Learning project for the kids! We’re all about science in the kitchen.)

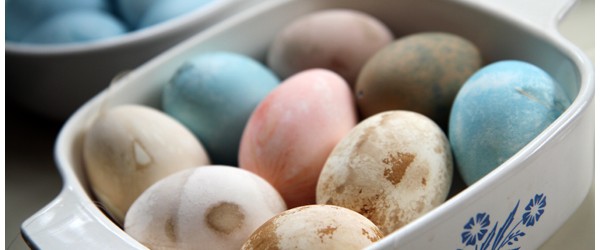
While the eggs dyed with cabbage and saffron were vivid, the other ones we tried (tea, beets, and paprika) were less successful:
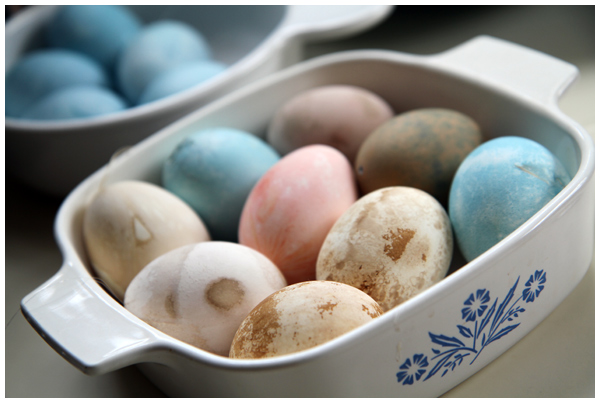
Dying eggs naturally with ingredients from your kitchen

I’m still hoping to try yellow and red onion skins (for orange and jade green eggs, respectively), and grape juice to make some lavender colored ones.

In the mean time, look at this fine little row of eggs:
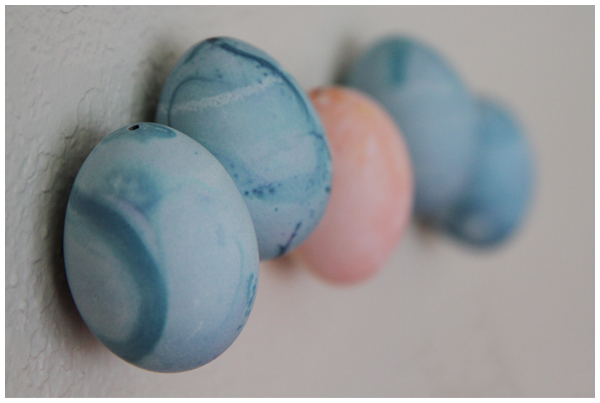
Dying eggs naturally with ingredients from your kitchen

Hands on learning is such fun!

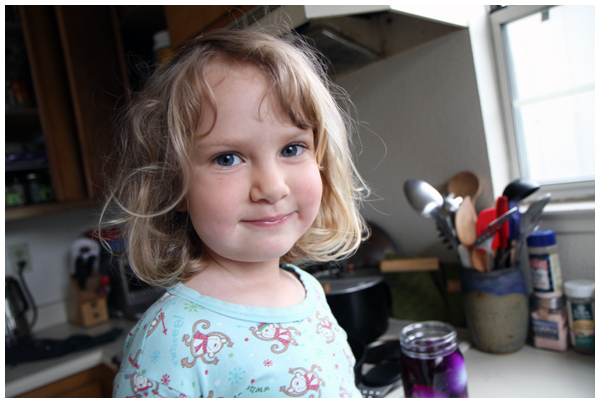
Happy girl -- dying eggs is fun!

Especially when we get to spend a rainy day at home in our pajamas doing art projects in the kitchen.

Happy Spring!
A Quick and Easy Way to Blow Out Eggs

With the Spring Equinox upon us, we’ve been busy preparing for the plethora of Spring Holidays!

Blowing out Easter eggs

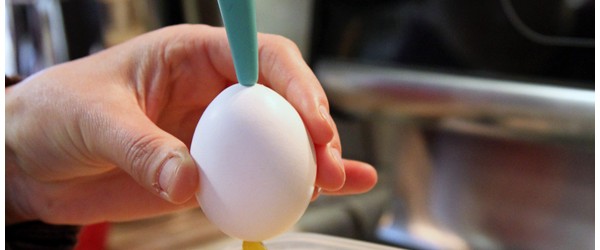
My friend Dorothee (who owns the wonderful German kids accessories shop, Sofee and Lenee!) showed us an easy way to blow out Easter eggs using an unexpected tool that most parents have in the house: a bulb syringe (or nasal) aspirator.

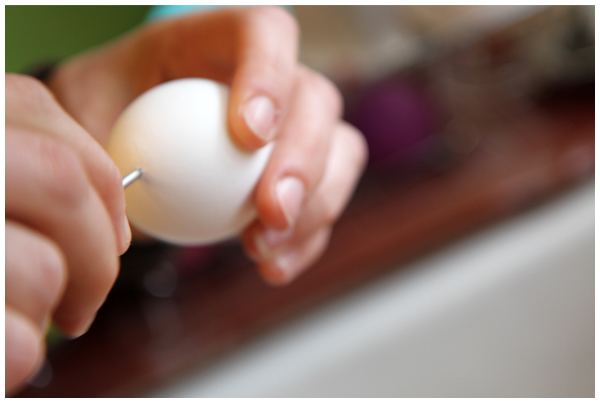
To blow out eggs, Dorothee first pricked the egg on the top and bottom (she used a tool from Germany, similar to this egg piercer, but I’ve heard you can do this with a needle, metal skewer or push-pin). Dorothee enlarged each hole using a metal skewer, making one of the holes particularly large so that the yolk could smoothly pass through.

Blowing out Easter eggs

She then grabbed the aspirator (left over from when her girls were babies!) and pressed it firmly against the uppermost (smaller) hole and gently blew air into the egg. The egg contents then dropped through the larger hole at the bottom into a bowl below. After several squeezes the egg was empty and could be washed out and dried.

Blowing out Easter eggs

I particularly love this tip because most families have an aspirator lying around, gathering dust once the babies grow up. Instead of taking up valuable space in the medicine cabinet, we can use our aspirator for perpetuity in blowing out eggs. (Once used in the kitchen, I have a feeling it needs to stay in the kitchen).

After you’ve blown out eggs, color them using all-natural dyes! (More on THAT later in the week!) Such a perfect activity for Spring.