The Organized Pantry

Also known as the ONLY organized space in our house!

To learn more about this project, please read our postsĀ Organizing the Pantry (gearing up for the project) andĀ Pantry Organizing Supplies (including more info about those awesome liquid chalk pens we used to label everything).

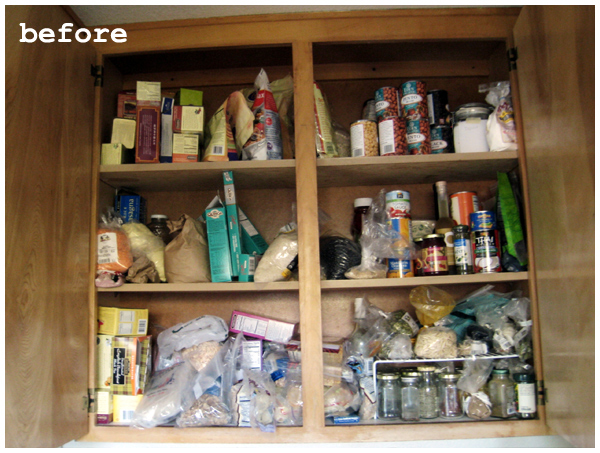
To refresh your memory, here’s what our pantry looked like before:
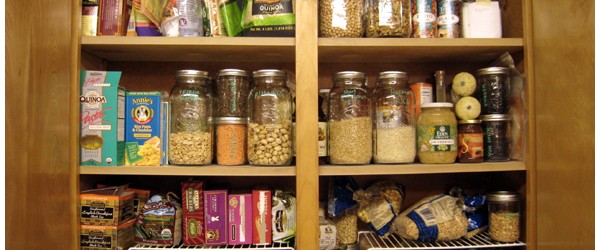
Here’s what it looks like now:
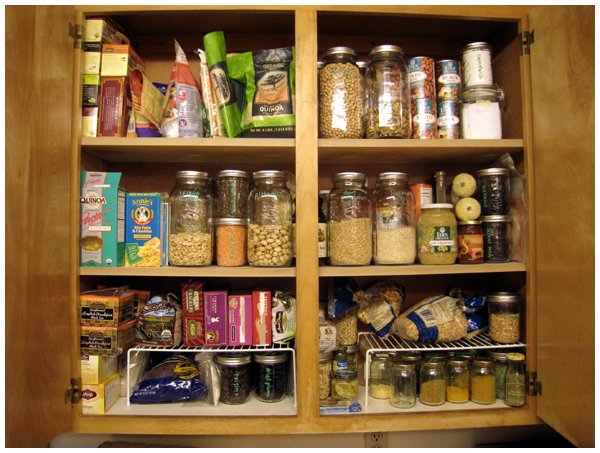
Top row: teas for guests, ground flax seeds for smoothies, gluten-free flour, bulk raisins and quinoa, dried beans (garbonzo, black) and canned beans for when we’re in a pinch (pinto, black), tapioca flour and cornstarch for art projects.
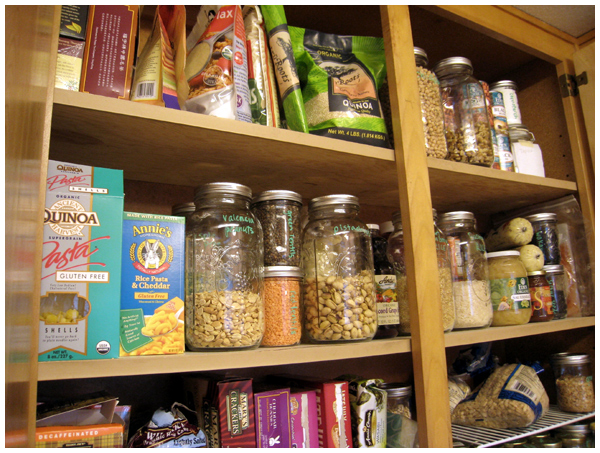


Middle row: quinoa/corn pasta and Miss Leyba’s stash of mac and cheese, peanuts, split peas, lentils, corn meal, pistachios, grape juice, millet, brown and white basmati rice, sauerkraut, ketchup, apple cider vinegar, canned pumpkin, polenta, jam, wakame, sesame seeds, rice wrappers, balsamic vinegar.
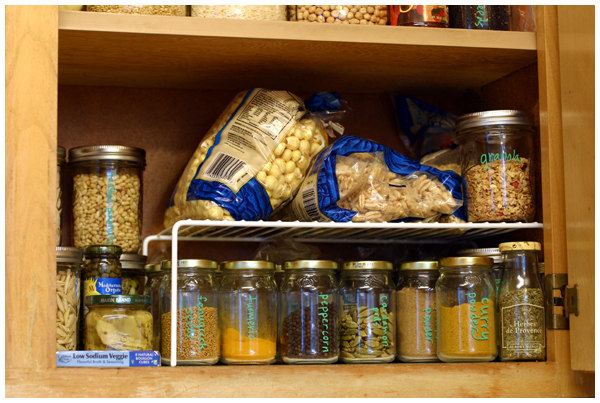


Bottom row: every day teas, rice cakes, flax seed crackers, cheddar bunnies, chocolate graham crackers, bite sized peanut butter sandwich crackers, seasweed snacks, blue corn chips, raisins, dried plums, nori, pine nuts, pumpkin seeds, slivered and sliced almonds, shredded coconut, capers, artichoke hearts, bouillon cubes, puffed cereals, granola, and spices.

Wow, what a difference! And, wow, do we have a lot of food in the house!

Now the challenge: keeping it this way! I may have to post monthly photos of our pantry just so I have incentive to keep it neat and tidy… you all will be watching! ;-)
Pantry Organizing Supplies

When I started on our pantry organization project, I had no idea how many glass jars we’d need to hold everything. Had I known, I may never have embarked on this particular activity, but I’m so glad I did.

I shopped around for affordable glass jars and settled on canning or mason jars. They’re inexpensive and incredibly durable. We already use them for our drinking glasses so having more around the house for that purpose too was a bonus (should we have any jar left over — HA!).

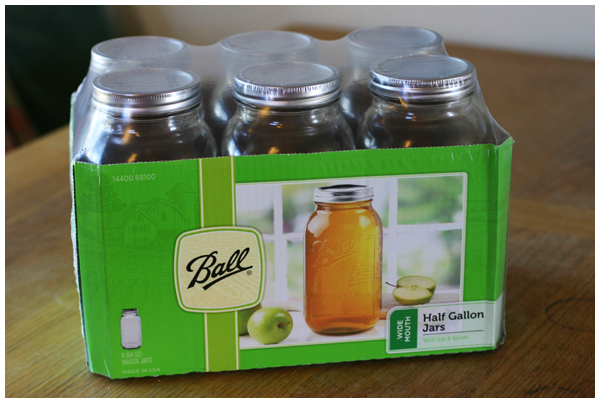
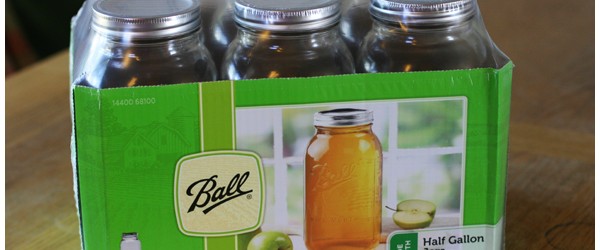
We bought twelve giant half-gallon jars (here are just half of them):

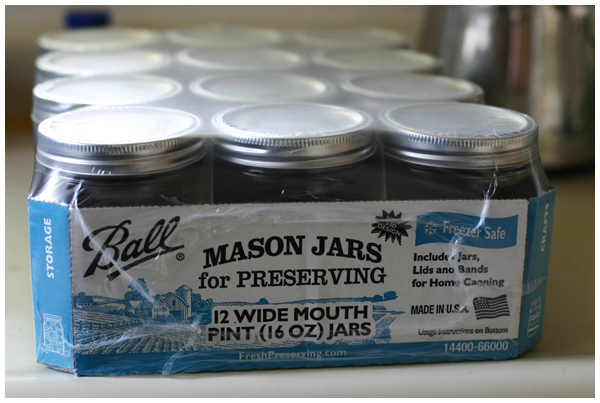
and twenty-four (two flats of these) pint sized jars:

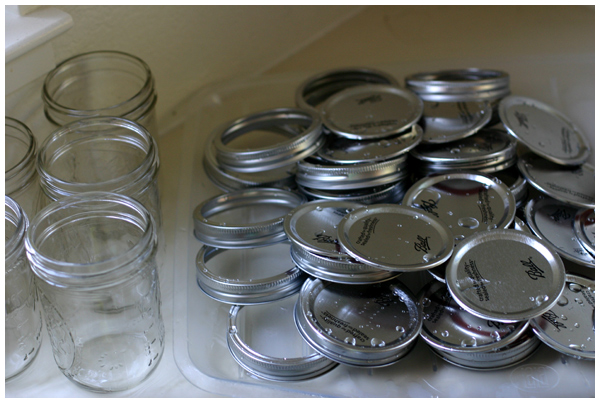
The downside to these jars? The lids are lined with the endocrine disruptor Bisphenol A (BPA). Total bummer! We still decided to use them because we’re filling the jars with dry goods that won’t be touching the tops and we’re leaving plenty of headroom between the goods and the lids. We’re not too worried.

Ultimately we want to replace all of the BPA-laced lids with these Tattler Reusable Canning Lids. We can use them with our existing bell jars that we’ve already invested in and filled (more on that later!) and the lids are reusable and BPA-free, even though they’re plastic (the only part we’re not completely sold on). Why aren’t we using these lids right away? We just spent all this money on canning jars and we’d need a lot of lids. We’ll get to it eventually. We’re in no rush.

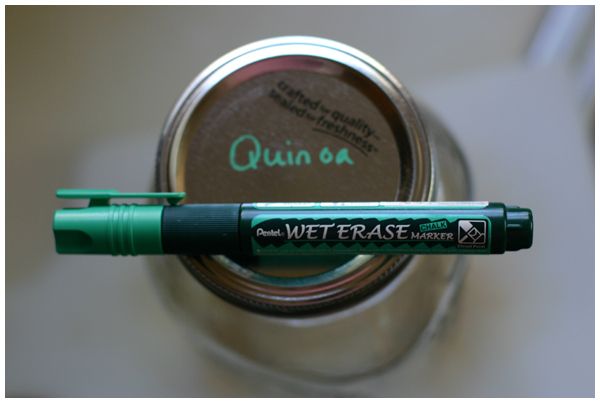
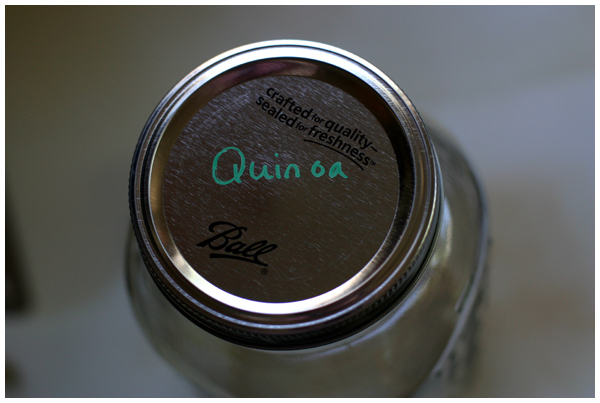
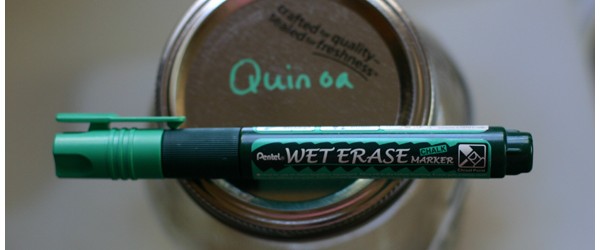
To mark the jars, we bought these fantastic Wet Erase Chalk Markers by Pentel:

They come in a number of vibrant colors: green (shown above), blue, red, violet, yellow, orange, white and black. (All the pen colors are eligible for Amazon Prime so if you have that, like we do, you’ll get them in two days! So freaking convenient.) If you’d rather buy these pens straight from the manufacturer, click here. We bought our pens from our local art supply store.

You can use these pens on any dry, non-porous surface, like the metal tops and glass sides of the bell jars (or blackboards or whiteboards), and the ink easily wipes away with a damp cloth or paper towel. I had originally planned on spraying the jar lids with chalkboard paint to then use these pens, but realized I didn’t have to. Hooray, one fewer step in our pantry organization process!

The only downside that I’ve found to these pens is that you need to have fully dry hands when you handle the labeled jars or the pen wipes off. No big deal. I keep the chalk markers within an easy reach of the pantry for touch-ups.

Want to see what our pantry looks like now? I’ll be posting about it tomorrow. Stay tuned…

Organizing the Pantry

For months I’ve been meaning to organize the pantry. To put spices and bulk foods into glass jars. To label everything. To toss the old stuff (like foods containing gluten, which we don’t eat anymore!). To donate our BPA-laced canned goods. To group similar items and reorganize where we keep pretty much everything. It’s such a mess in there.

Step 1: Gathering supplies

I’ve saved glass jam jars and their lids. We’ve bought giant half gallon Mason jars when they were on sale at our local hardware store. David and Miss Leyba picked out two liquid chalk pens at my request so I can easily mark the jars and the labels will easily wash off so I can relabel indefinitely.

Step 2: Getting started

I’m all set to start. What’s stopping me? Evidently I lack is the drive to get going. I still need to wash the mason jars and that’s really holding me back.

Now that I’ve posted about this, the pressure is on.

Ready, set, go!

Laughs. I’m still sitting here. Well, it was worth a try, right?

Stay tuned. I’ll post about my progress. Really.