Glittery Clothespins

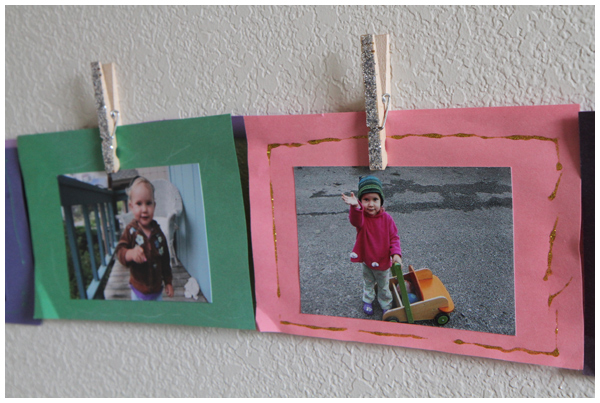
Remember the colorful photo banner we made for our daughter’s birthday?
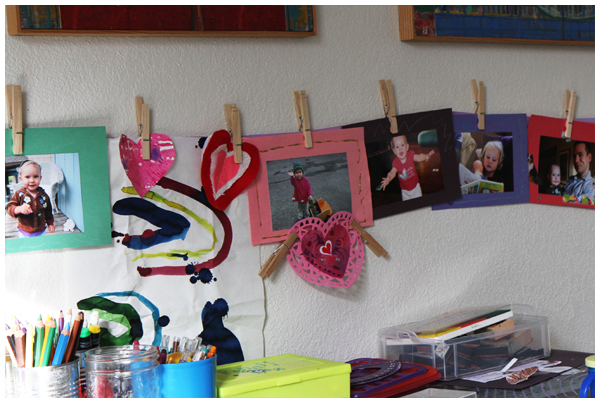
Instead of taking it down and putting it away, we decided to move it upstairs into her room to hang along her bed so she could continue to enjoy the photo memories.

To add a little sparkle to the project, we decided to decorate the clothespins with silver glitter. (Similar to these gorgeous ones for sale on Etsy.)

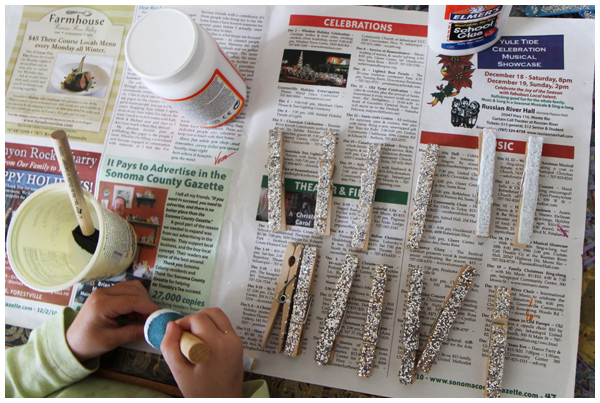
First we covered one side of the clothespins with plain glue, then we placed silver glitter on top.
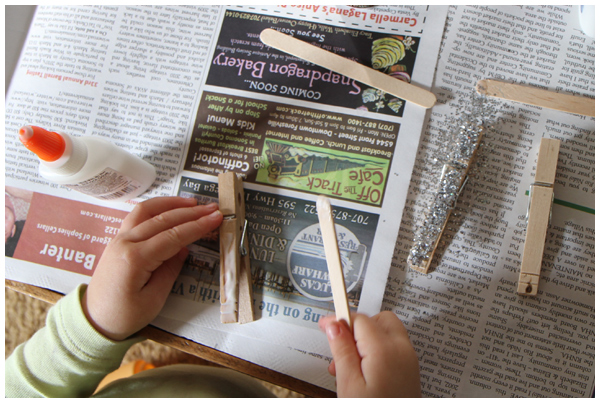
We let the clothespins dry for a few hours before covering them with glossy mod podge so that the glitter would stay on the clothespins instead of making a big mess in her clean bed. (At least that’s the theory. We shall see how it works out.)
Once they were dry, we brought them upstairs and re-hung the photo wall.
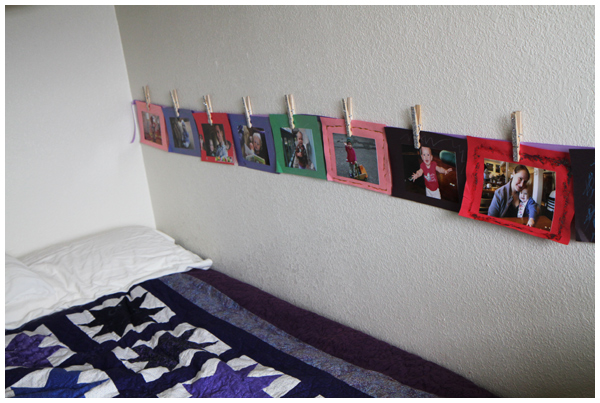
Super easy, cheap, and so sparkly and fun.
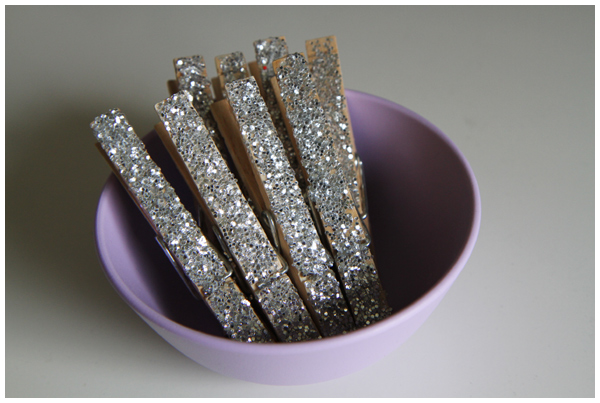
As our daughter would say, “Ta da!” Little girls can be so cute and dramatic.

The Bed Canopy

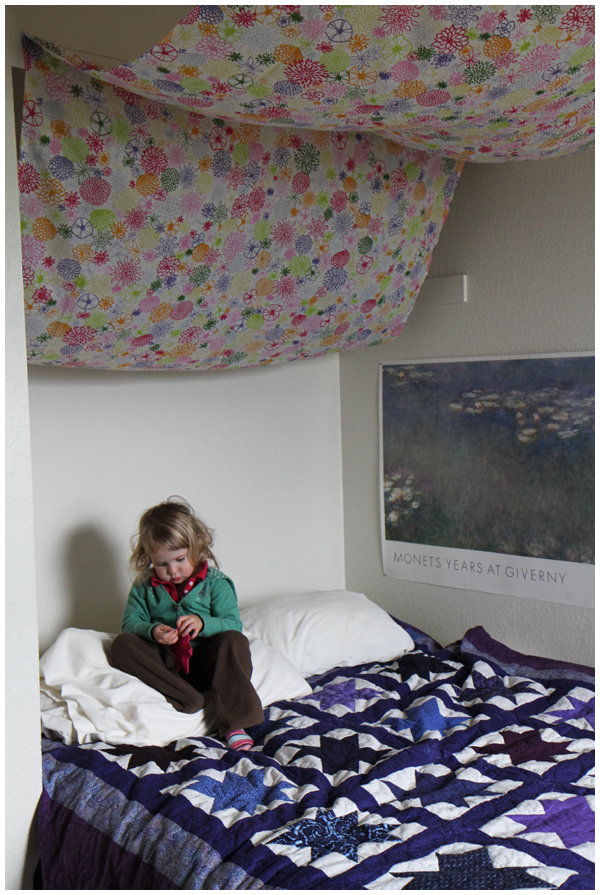
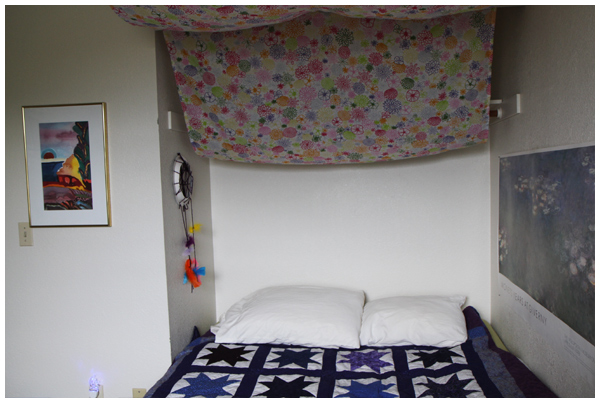
First of all, I imagine you’re all thinking, “A queen sized bed for a toddler?! Why?!” We believe 1) we have this great organic queen sized bed laying around that’s begging to be used, 2) we may have guests come to visit in which case we need a place for them to crash, and 3) I’m sure David and I will be taking turns sleeping next to the kid-o during this transition time. In fact, he slept there for two hours this morning with the toddler (who ALMOST made it through the night entirely on her own), so it’s already working out great for us, thank you very much!

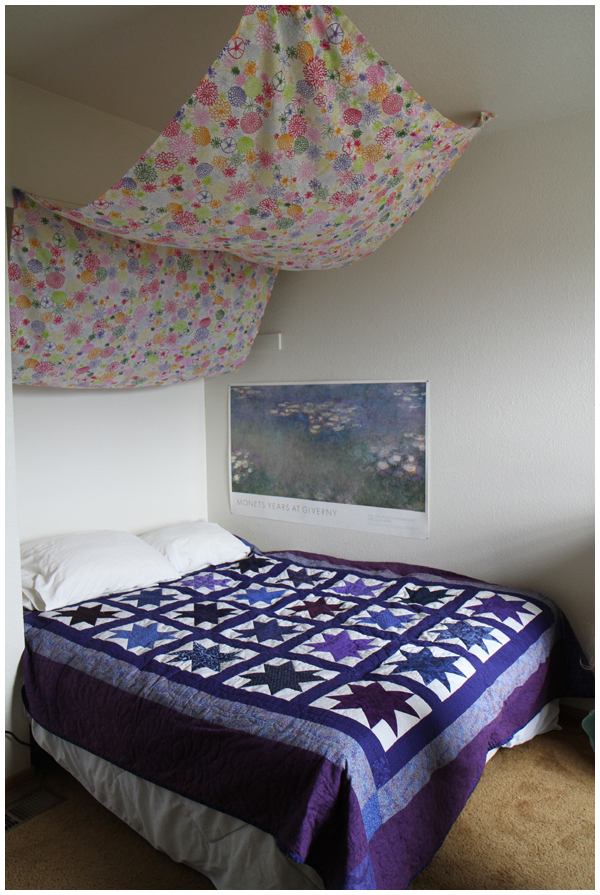
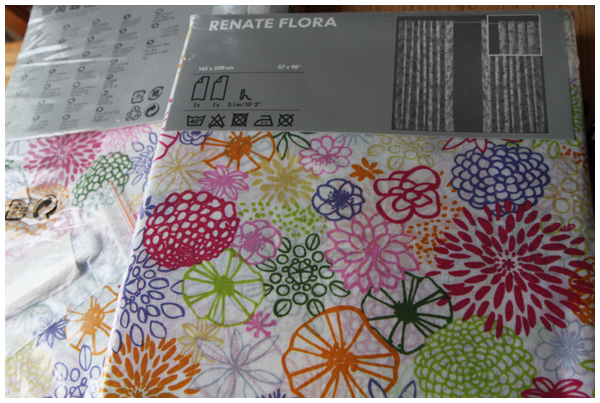
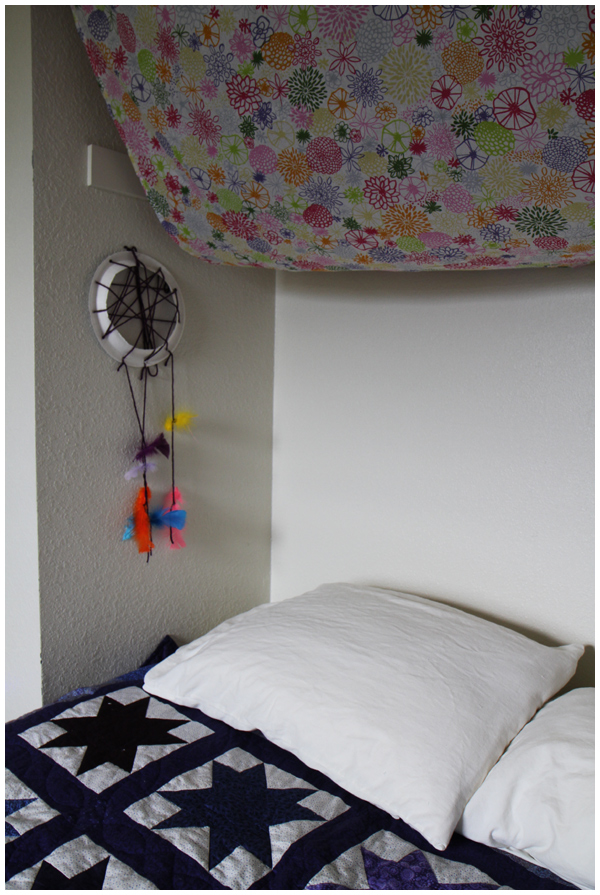
We created the canopy above the bed using a sheer IKEA curtain (a hand me down from friends).

We received the handmade quilt on the bed as a wedding present from my godfather. Our daughter made it VERY clear that she wanted to use this quilt in her new room and we are thrilled to see her cherish it as we do.

Our daughter made the dream-catcher, above, in her yoga class. That was one project she made very clear that we NEEDED to keep and that it MUST hang by the bed. My original location on the wall in the living room was shot down. Clearly, I should have known better. It’s perfect here.

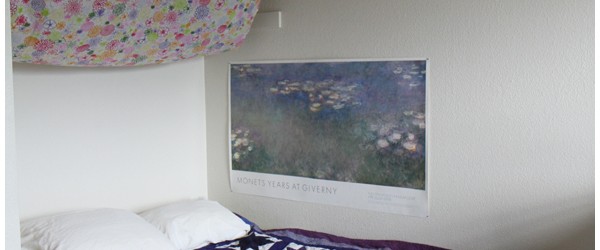
The watercolor painting to the left of the bed was done by my step-grandmother. She let me choose one of her paintings to keep as a graduation present and it’s never had a better-fitting location in our house. I love how the bright colors match the canopy!

We have so many treasured handmade gifts by her bed, but just you wait! We’re hard at work on an art project for above the bed. I think you’ll like it. Stay tuned…

From Office to an Almost (Empty) Room

For several months our daughter has been talking about wanting her very own room (up until now she’s been sleeping with us). And by talking, I mean asking us every single day when it would be ready. “I want to sleep there tonight.”

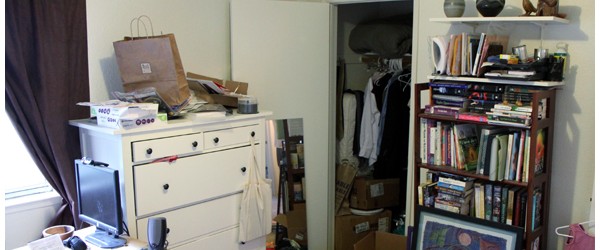
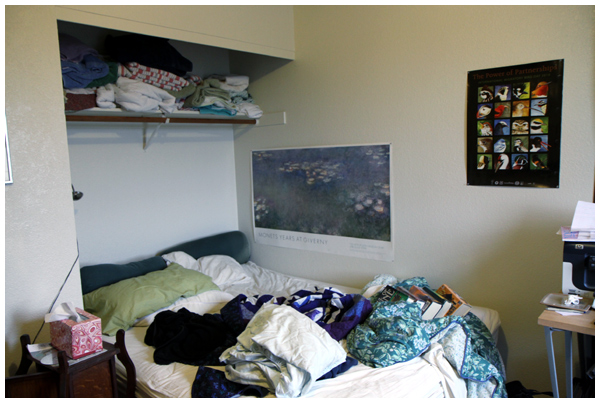
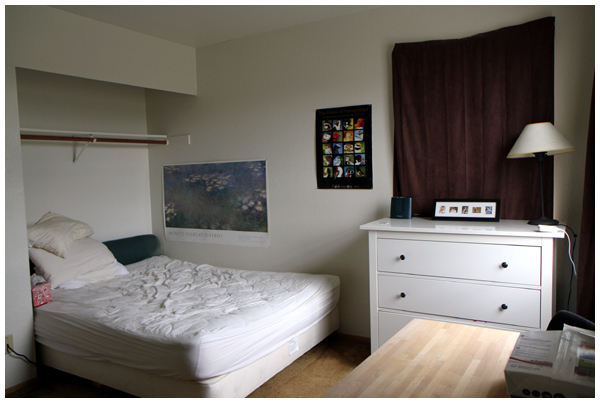
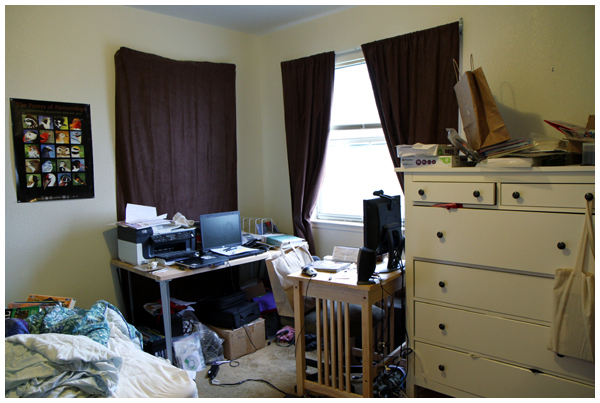
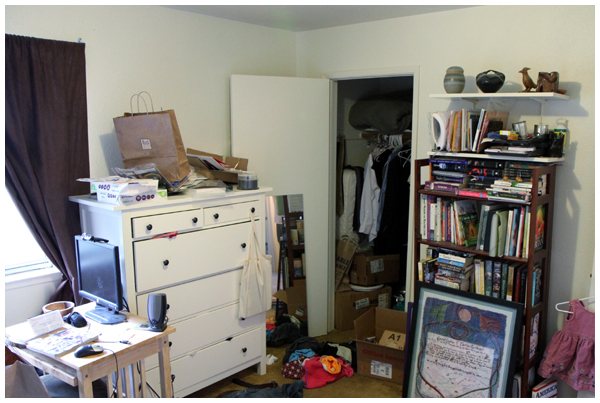
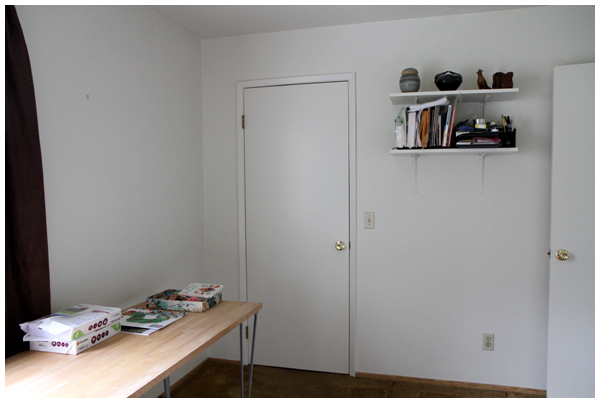
To say that David and I had been procrastinating on setting up her room is a bit of an understatement. To get her room ready, we first had to to tame empty the guest room/office/storage room as we live in a very small, two bedroom house. When you see the before photos, below, you’ll see why we dragged our feet. Talk about dealing with a big mess! Where to put all this stuff?!

We decided that a three-day weekend was just the right length of time required to tackle the mess and begin the transformation from a guest room storage hell into a lovely little girl room.

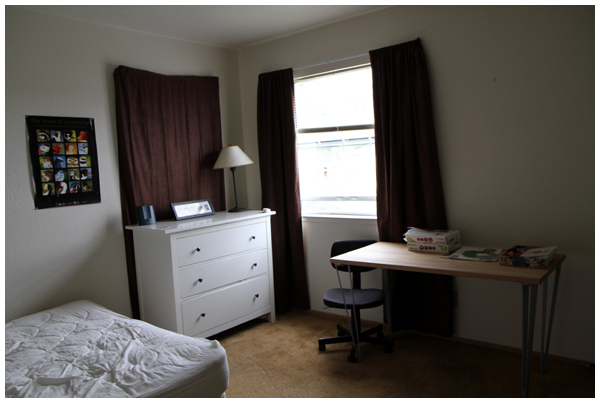
We had quite the project ahead of us and, as it turned out, the exact amount of time needed to empty the room. One car full of junk to the thrift store later and lots of reorganization throughout the house, we have an essentially empty room.

Before:

After:

Before:

After:

(The desk and chair probably won’t stay there. We still need to find some other place in the house to put them.)

Before:

After:

(Yes, I gave up my walk in closet. Instead the closet now holds our linens. I have wanted a linen closet for a long time and I’m thrilled that we finally have a place to put all our extra blankets, sheets, towels, and sleeping bags. Now the challenge will be to keep the toddler out of there. Hmm.)

The room is now a blank slate and the fun part of the room transformation can begin. I am excited to change this sterile space into a darling little girl room. I have a feeling lots of books and toys will be involved.

Stay tuned!