Pantry Organizing Supplies

When I started on our pantry organization project, I had no idea how many glass jars we’d need to hold everything. Had I known, I may never have embarked on this particular activity, but I’m so glad I did.

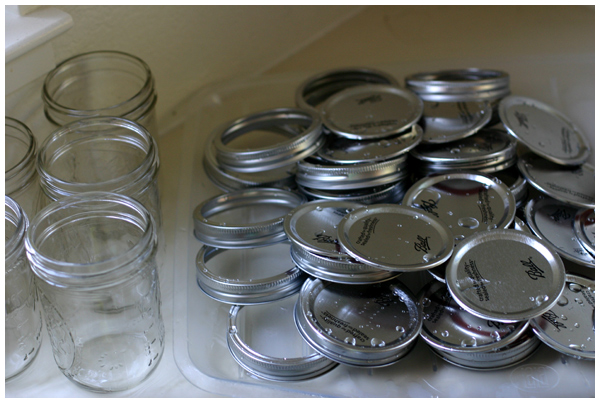
I shopped around for affordable glass jars and settled on canning or mason jars. They’re inexpensive and incredibly durable. We already use them for our drinking glasses so having more around the house for that purpose too was a bonus (should we have any jar left over — HA!).

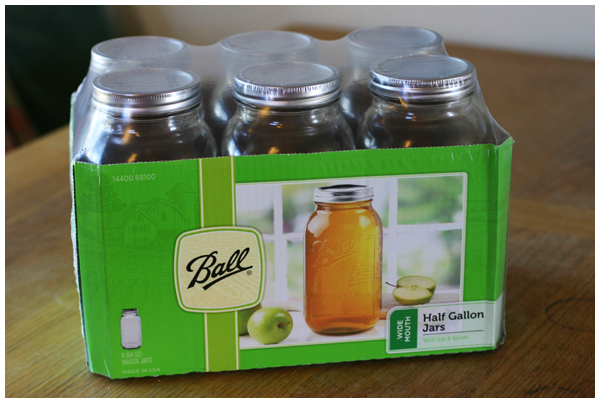
We bought twelve giant half-gallon jars (here are just half of them):
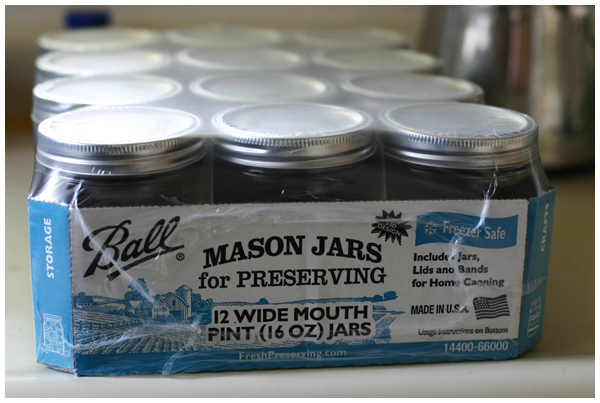
and twenty-four (two flats of these) pint sized jars:
The downside to these jars? The lids are lined with the endocrine disruptor Bisphenol A (BPA). Total bummer! We still decided to use them because we’re filling the jars with dry goods that won’t be touching the tops and we’re leaving plenty of headroom between the goods and the lids. We’re not too worried.

Ultimately we want to replace all of the BPA-laced lids with these Tattler Reusable Canning Lids. We can use them with our existing bell jars that we’ve already invested in and filled (more on that later!) and the lids are reusable and BPA-free, even though they’re plastic (the only part we’re not completely sold on). Why aren’t we using these lids right away? We just spent all this money on canning jars and we’d need a lot of lids. We’ll get to it eventually. We’re in no rush.

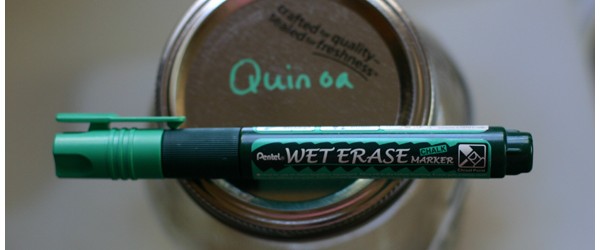
To mark the jars, we bought these fantastic Wet Erase Chalk Markers by Pentel:
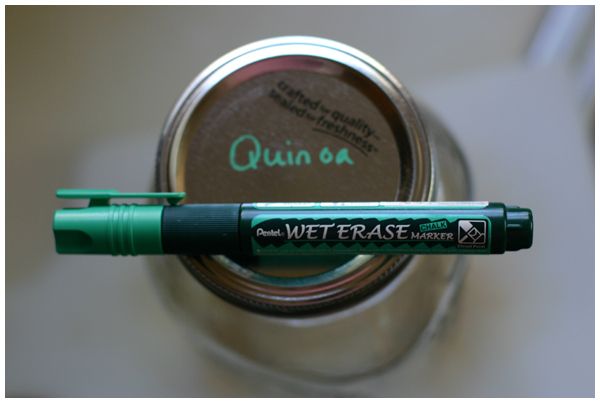
They come in a number of vibrant colors: green (shown above), blue, red, violet, yellow, orange, white and black. (All the pen colors are eligible for Amazon Prime so if you have that, like we do, you’ll get them in two days! So freaking convenient.) If you’d rather buy these pens straight from the manufacturer, click here. We bought our pens from our local art supply store.
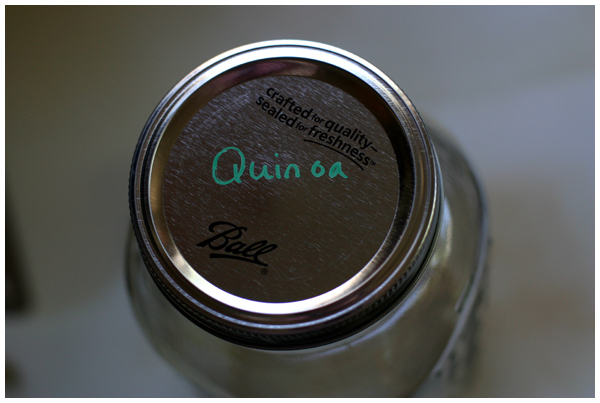
You can use these pens on any dry, non-porous surface, like the metal tops and glass sides of the bell jars (or blackboards or whiteboards), and the ink easily wipes away with a damp cloth or paper towel. I had originally planned on spraying the jar lids with chalkboard paint to then use these pens, but realized I didn’t have to. Hooray, one fewer step in our pantry organization process!

The only downside that I’ve found to these pens is that you need to have fully dry hands when you handle the labeled jars or the pen wipes off. No big deal. I keep the chalk markers within an easy reach of the pantry for touch-ups.

Want to see what our pantry looks like now? I’ll be posting about it tomorrow. Stay tuned…
A Garden Update

We’ve been busy gardening over in Spritzer Leyba Land, but before I tell you about the work we’ve done in the garden this spring, let me show you some photos from last summer.

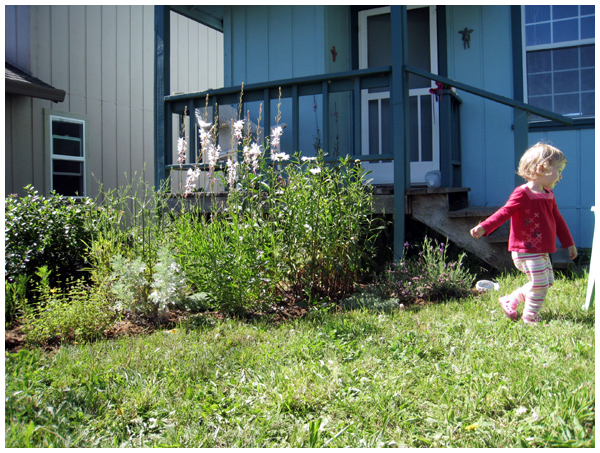
See those bushes behind Miss Leyba? Turns out, they only bloom for two weeks each year and there they are, blooming and lovely! A couple days later all the flowers died and the bush transformed into a giant, overgrown hedge that blocked a view of the stairs… a super no-no when your toddler loves to sit there.

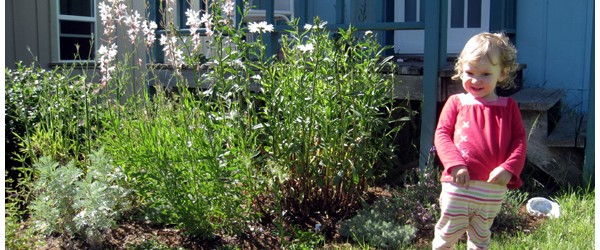
So, last May David ripped out the bush (turned out to be mostly dead with just a little bit alive on top) and we started planting a lovely little garden. Here it is today with several plants just starting to bloom and lots on its way:

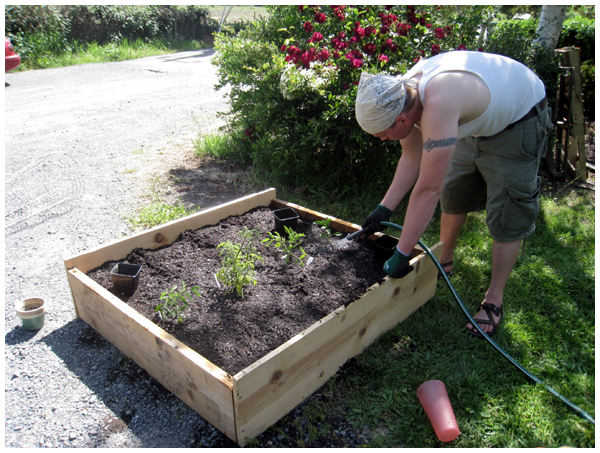
David also built me a small raised bed for our vegetable garden. Here he is last year watering our newly planted tomatoes (that performed poorly due to the abnormally cool 2009 summer):

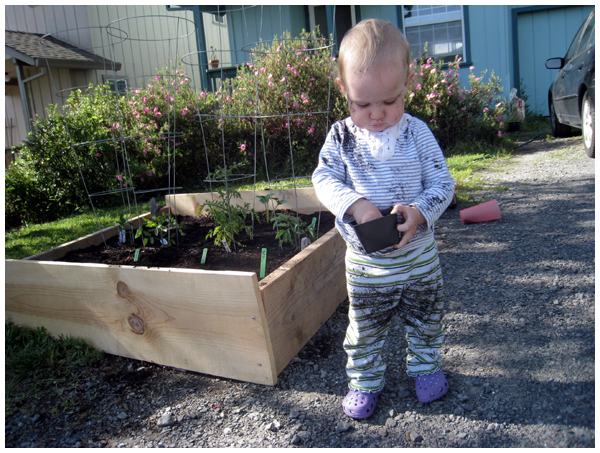
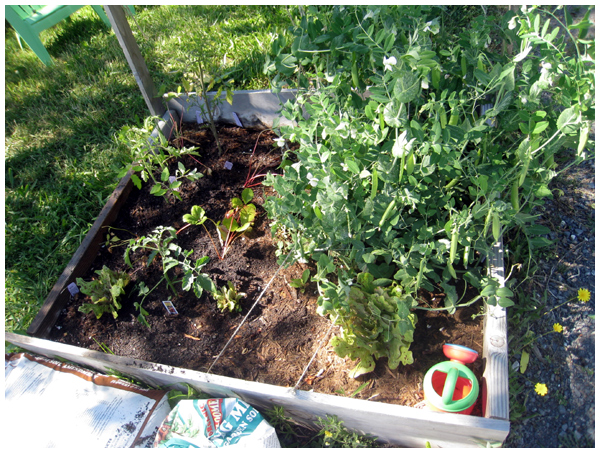
And here it is now with lots of sugar snap peas, lettuce, strawberries and tomatoes:

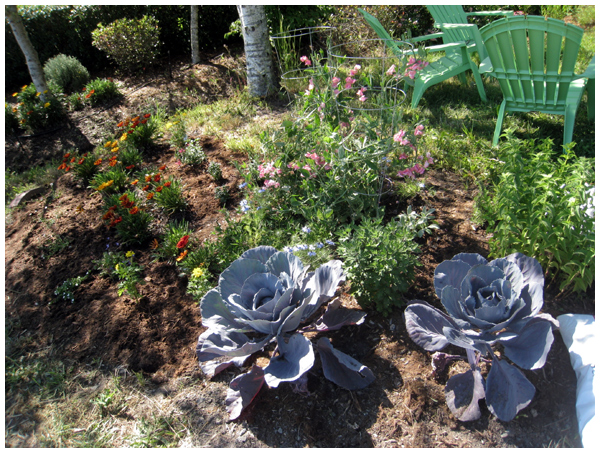
We also removed the bushes next to the veggie bed (behind David in the above photo). One of them had super sharp thorns and grew poisonous orange berries in the fall. The other “bush” was a spiky Live Oak tree that would grow to be twenty feet tall; definitely not a good fit for the space. Yes, there was a gorgeous rose bush, bit it was very overgrown, so we thought it better to start afresh with something new. Here is that bed today, a very work-in-progress sort of photo:

Those giant cabbages are from our winter garden; they just started forming heads, finally.

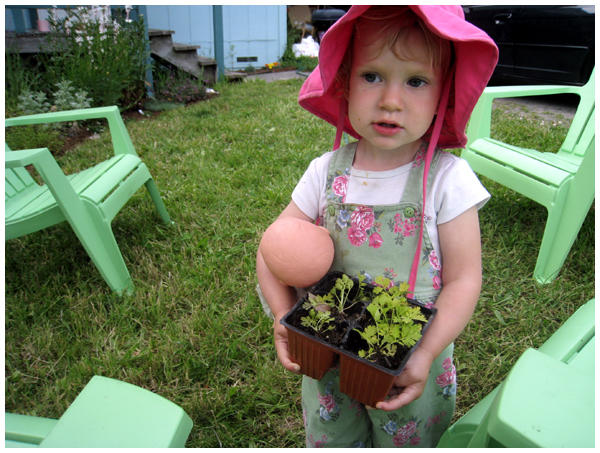
And here’s a photo of our little girl and AVID gardener! Trust me, I couldn’t be more pleased. We love working out in the yard together and I’m loving it!

(My, what a difference a year makes!)

I’ll post more photos as the summer progresses. We so enjoy working on the yard and transforming this house into a home. So glad you all are following along!

2010 Birthday Party Preview

It dawned on me that if I started working on my to-do list for Miss Leyba’s second birthday party now, then I might actually get it all done!

We’re planning a very small party: just Miss Leyba and her three closest friends (and their parents too!), and possibly some grandparents.

The theme?

Eric Carle’s The Very Hungry Caterpillar, also known as “Happy Caterpillars!” which is how Miss Leyba lovingly refers to it. (Yes, plural; as in there is a caterpillar on each page of the book!)

She is completely obsessed with The Hungry Caterpillar, and with the entire concept of caterpillars turning into butterflies. (We have SO many books, both from the bookstore and the library, on the subject. Life Cycles are a big hit right now.)

We have so many wonderful Very Hungry Caterpillar related items that we can pull into the party too: a handmade caterpillar puppet, puzzles of the caterpillar and the butterfly, the pop-up version of the book, as well as the French translation!

I am planning on serving up the menu in the book, with punched holes in all of the food as well!

Stay tuned as I post more pictures and share more of my ideas. I hope it will be a fun and memorable day and, wow, I have 2 months, 1 week and three days to get cracking.

Curious how the party turned out?

Read these posts:
Birthday Party Preparations invitations and goody bags
Party Decorations banners, coloring pages, and snacks
Party Fun photos from the event!