Yarn Cone Holiday Trees Craft Project

No surprise that our craft projects have been taking a holiday spin lately. Today we’ll share a simple kids holiday tree project.

Note that this a messy project (lots of glitter!) and takes several days to complete (because of all the layers that need to dry)… You have been forewarned!
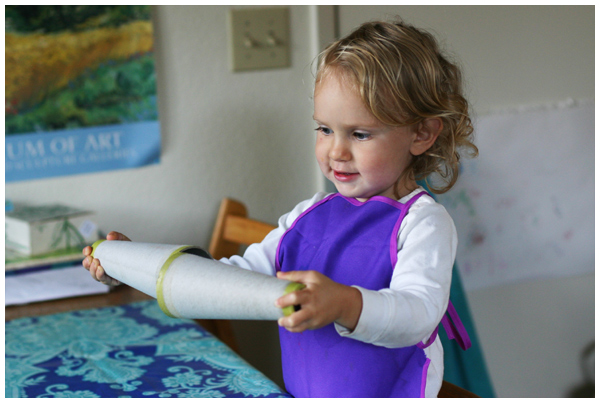
We started with these free empty yarn cones, picked up at a local craft resale shop (that benefits our town’s senior center).
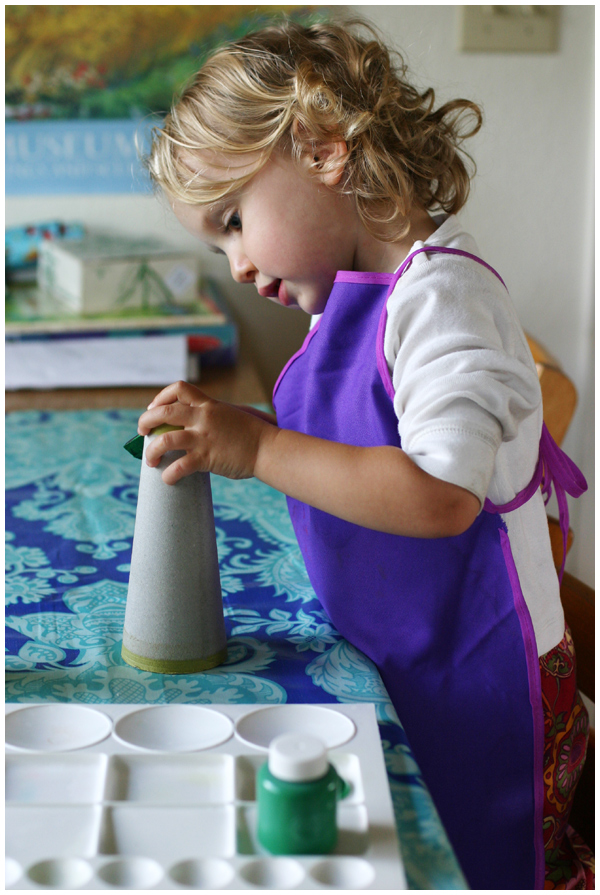
We painted the yarn cones with crayola washable paint in green and purple. (Because doesn’t purple just scream holidays?! Miss Leyba thinks so and I quite agree with her.) Please learn from my experience and don’t use washable paint. We used it simply because cause a toddler was involved, but the paint was somewhat thin.
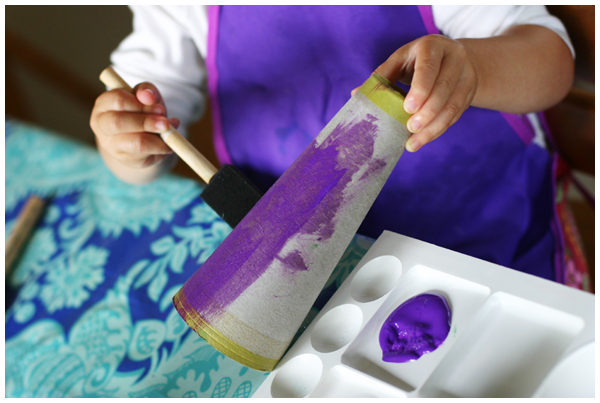
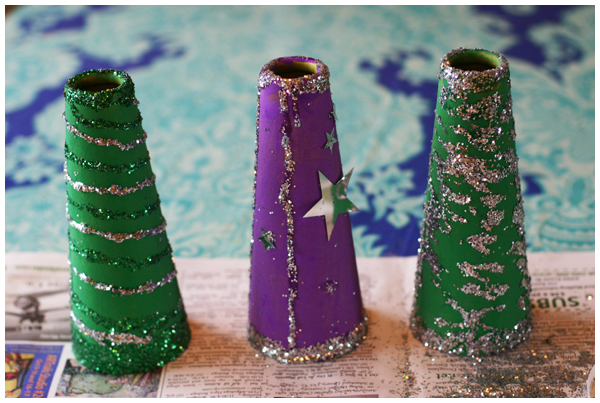
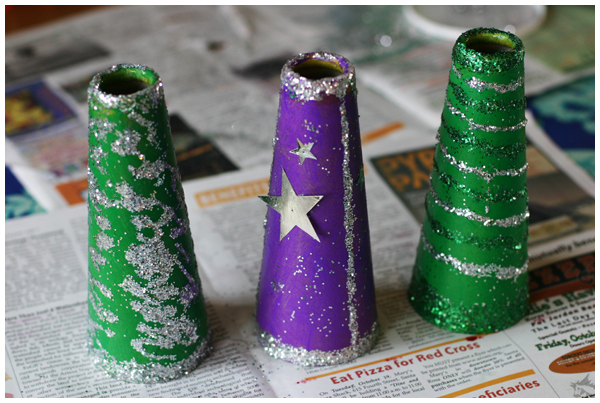
I only got a second coat on half of the cones (impatient toddler and who has time for second coats these days anyhow?!), so you can tell from the photos which ones received just one coat of paint. Regardless I think they turned out just fine. We’re all about the process versus the product here in Spritzer Leyba Land.
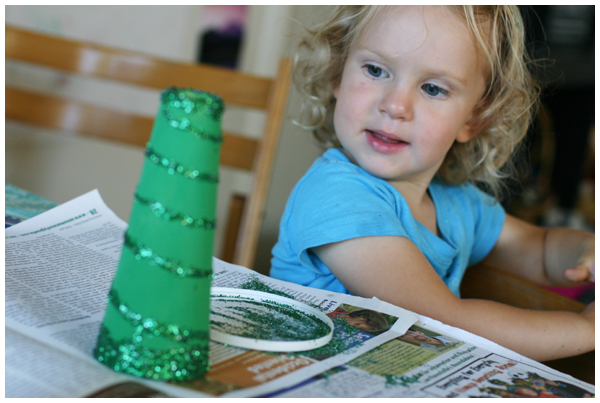
After letting the cones thoroughly dry, we used craft glue to made patterns on the trees and then covered them with glitter. For our first coat, we used green glitter (also from the craft reuse shop).
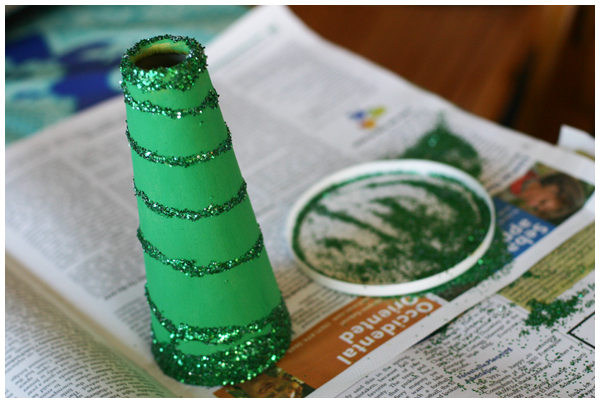
We then added patterns with glue and silver glitter, after the layer of green glitter thoroughly dried.
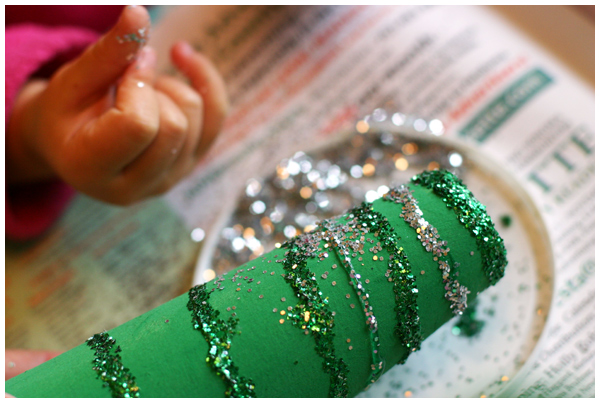
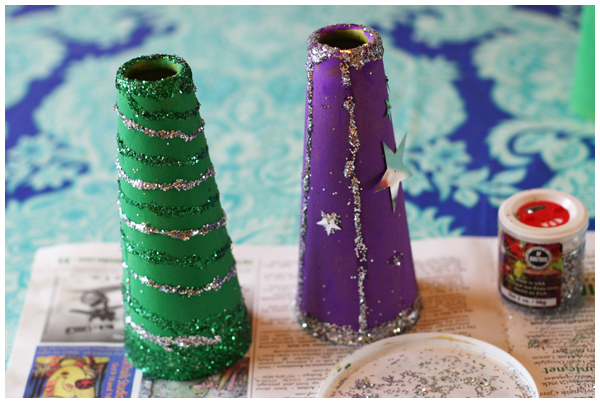
We glued on embellishments. We used silver stars, but you could easily use buttons, mirrors, felt pieces, dried flowers or leaves (and turn it into a fall craft, rather than a winter holiday craft).
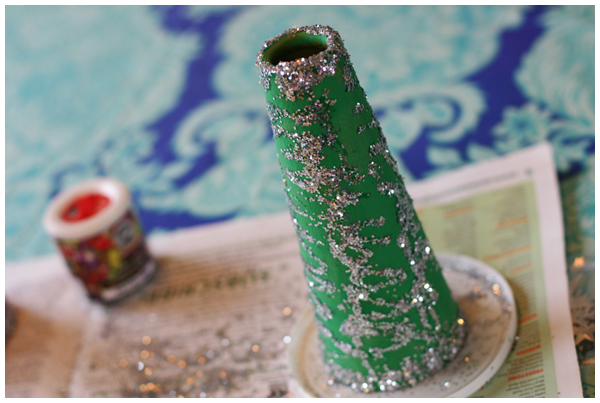
I zig-zagged glue and then rolled a cone, shown below, in the glitter on our newspaper for a more tree-boughs-covered-in-snow sort of look. (Who knows if I was successful but it was fun!)
Here are our three trees drying:
We then covered them with mod podge to seal the glitter on and to add a gloss finish to the trees.

Here’s when I thought I messed up and that the trees would be snow covered if the mod podge stayed white and didn’t dry clear (pardon the harsh lighting):
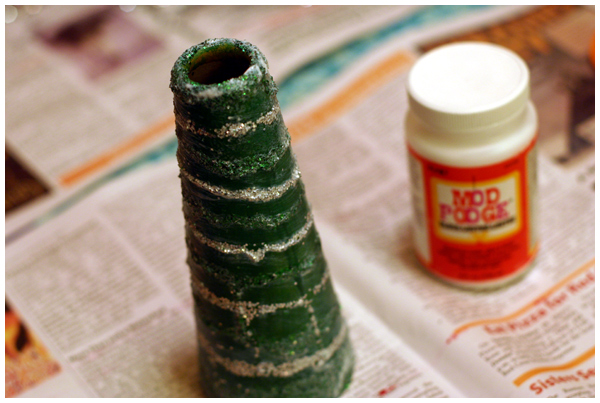
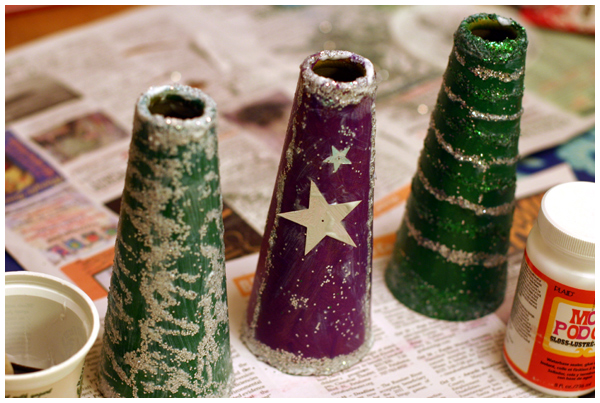
Imagine my relief when I found them the next morning, all glossy and dry, with no hints of white left over.
Phew!

Now to store them in a safe spot until December…
Swallowtail Butterfly Bank Checks for Kids

When I created credit cards and play money for my daughter, I showed you a process to inspire and guide you in making your own play money for kids.

This time, I wanted to focus on a project that you could instantly download, print and share with the kids in your life.

Enter this fun Swallowtail Butterfly Bank Checks for Kids project!

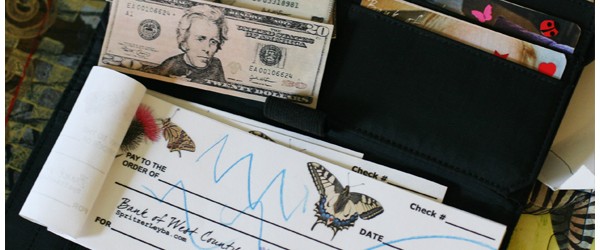
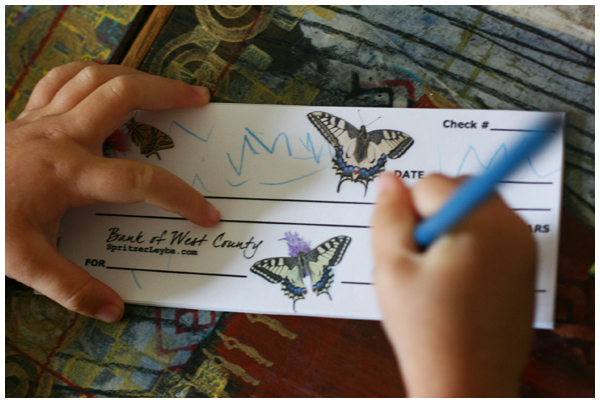
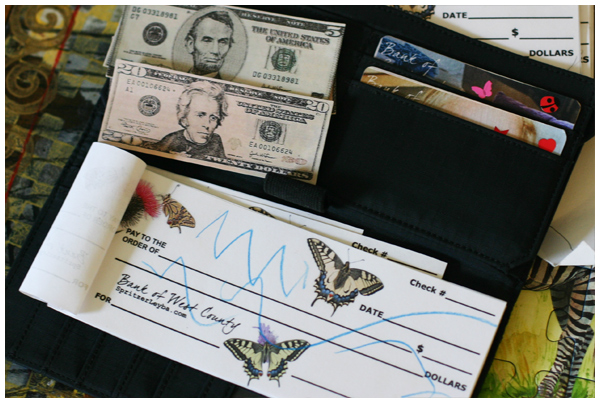
After several weeks of Miss Leyba insisting that she should be allowed to write in mama’s checkbook (yes, I’m old fashioned like that and still use one!), I decided she needed a checkbook of her own.

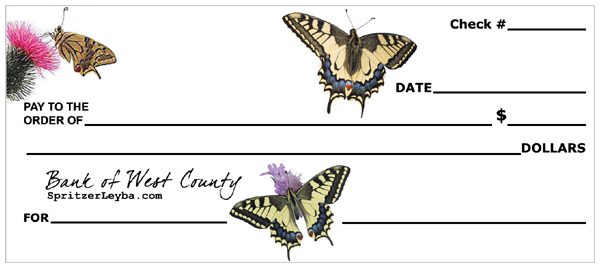
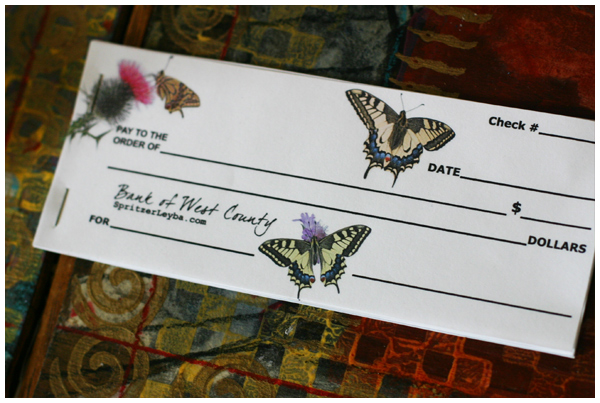
I created these checks with a Swallowtail Butterfly theme and printed out several pages worth (each page has three checks on it). Then I cut the individual checks down to size and stapled the left hand side together to form a book of sorts for her to write her checks in. Easy!

Now my daughter has play money, credit cards, and these bank checks in her own wallet.

Download Swallowtail Butterfly Checks here!

Wondering about the “Bank of West County” and butterfly theme?

We live in Western Sonoma County, more commonly known as West County, and we have lots of Pipevine Swallowtail butterflies. (The actual butterfly images on the checks are of a different Swallowtail and come from DK Clip-Art.) The West County theme seemed fitting and a tad bit educational. (We’re all about Everyday Learning in our house!) What kids aren’t into insects?

Enjoy.

Orange Play Dough Birthday Cake

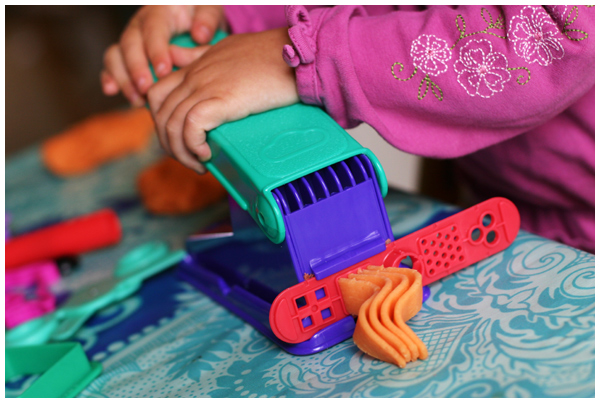
Every few weeks Miss Leyba requests that we make play dough. Usually purple, red, or blue play dough. This week I suggested we make orange play dough for Halloween and, amazingly, she agreed, the exact opposite of typical toddler behavior around these parts right now.

Picture endless games where I say, “Whatever you do, don’t drink that apple juice!” to which she replies, “I’m drinking it! Open your mouth and act surprised!” I completely anticipated having to say, “We can make play dough in whatever color you’d like, but NOT orange!” to sway her. I should have known she’d go for anything Halloween related. That’s the hot topic here these days.

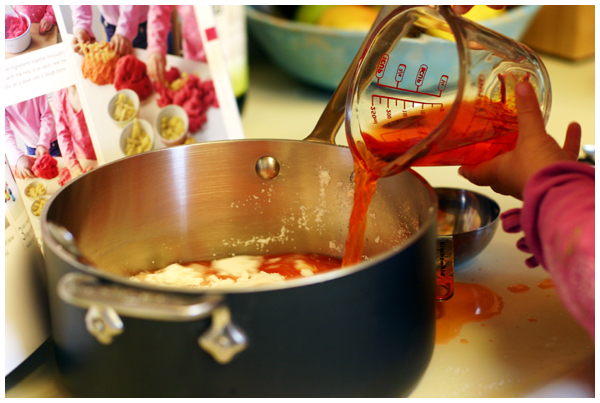
So we made deliciously orange play dough together.

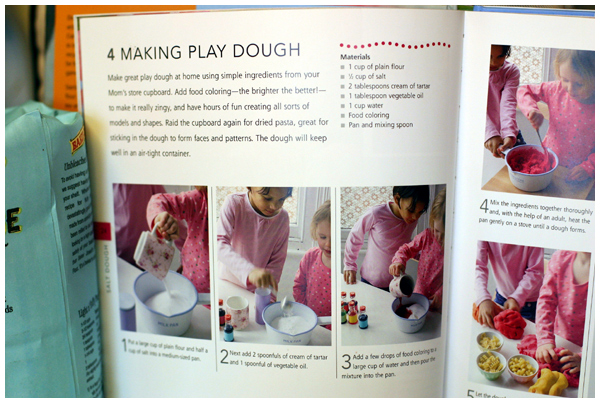
The recipe we use is from Green Crafts for Children, a wonderful book full of art activities using natural, recycled, and found materials.

It’s your basic cooked play dough recipe incorporating 1/2 cup salt, 1 cup flour, 2 tablespoons cream of tarter, and 1 tablespoon oil; we then add 1 cup of water mixed with food coloring and stir the dough while slowly heating it on the stove.

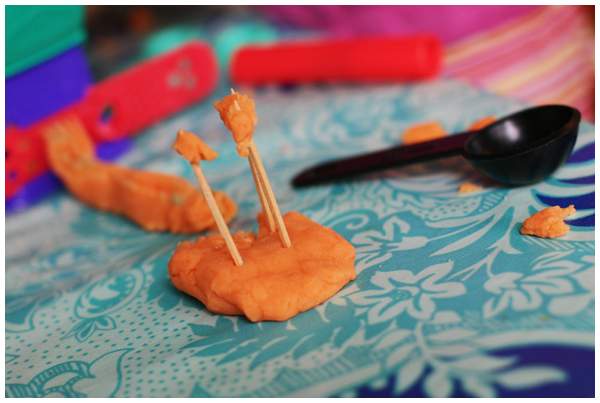
After a brief cool-down period, the dough is ready to go and it’s time to make birthday cake!

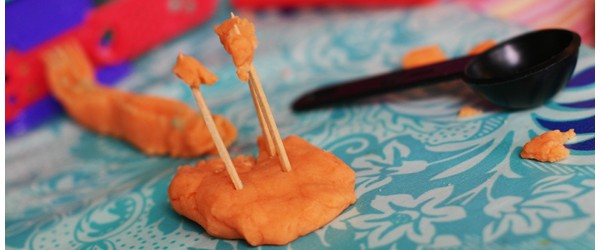
She made the cake and birthday candles with flames by herself. Then she insisted on making a total of three cakes, one for each of us, and singing many rounds of “Happy Birthday” while blowing out candles and then cutting and serving us cake. What a generous hostess!


Video: Happy Birthday Play Dough Party from Carrie on Vimeo.

I ask you, who doesn’t love birthday cake?! Especially when it’s orange, made of play dough, and cooked by this cute little girl! It’s irresistible.

Play Money for Kids

Miss Leyba loves playing with money and credit cards and quite frankly I got tired of her playing with my wallet and putting my library card who knows where. Something had to be done.

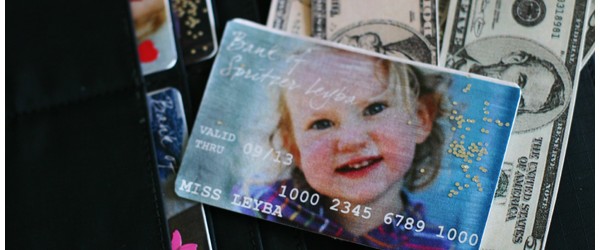
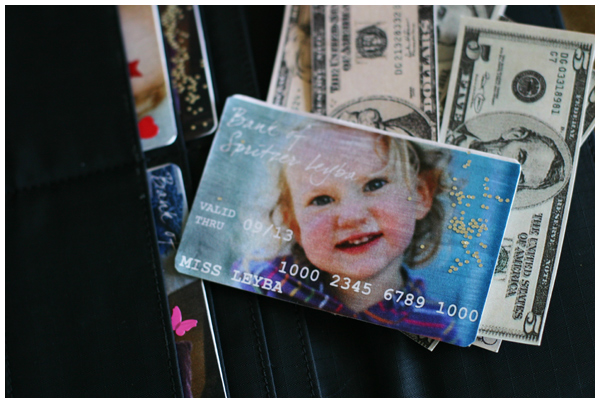
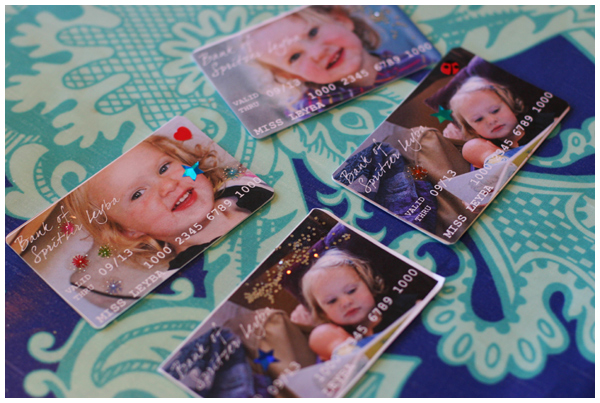
So we made her some play money and credit cards to go in her very own wallet:

We used the cardboard cards that come with those annoying credit card offers in the mail.

On Photoshop I quickly whipped up some 3.370 × 2.125 inch credit cards at a 300 dpi resolution with Miss Leyba’s face and pretend bank and card info.

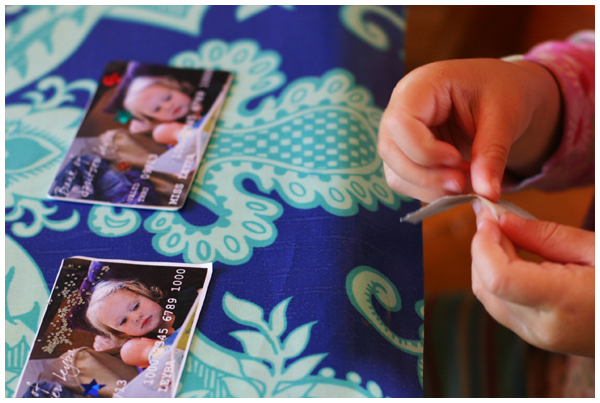
We cut them out, mod podged them on to the cardboard cards, decorated them with stickers and glitter, let them dry, covered them with mod podge again and voila!


Welcome to the Bank of Spritzer Leyba!

Quite honestly if I could do it again (and I probably will), I would print her pictures out on heaver card stock (not regular printer paper) and would glue it on with regular glue (or a thicker coat of mod podge). Then I would probably laminate the cards instead of covering them with mod podge. That way my daughters beautiful face wouldn’t be covered in brush strokes. She didn’t seem to care at all… that’s one thing I love about toddlers: they’re easy to please!

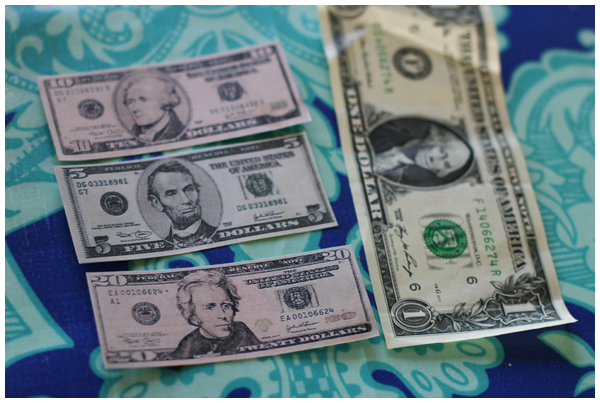
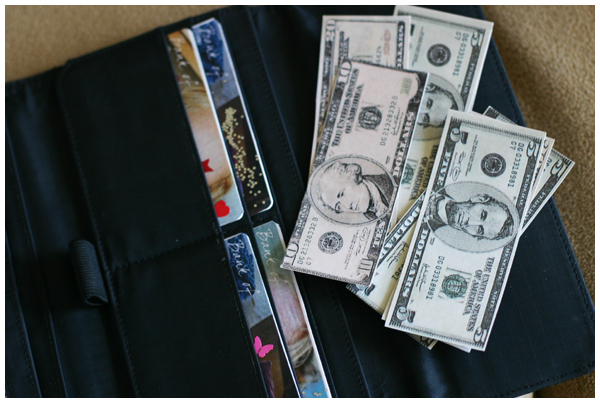
We also made her some pretend money. I found photos of dollar bills online and made them smaller than real bills so she could hold them more easily in her hand. Then I printed them on heavy cardstock and cut the bills out. Here they are next to real money:

See? Much smaller!

She keeps them in her wallet along with her new credit cards. Miss Leyba’s crazy about shopping and, finally, she can treat me!

Binoculars Craft Project

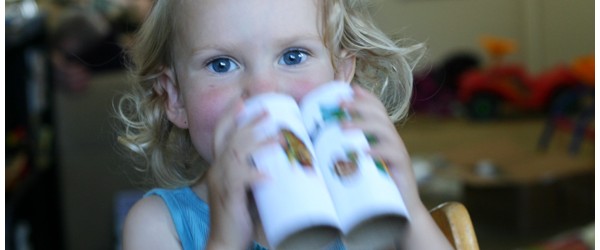
My mother is an avid birder and loves to share her enthusiasm and knowledge with us. During her visit she made binoculars with Miss Leyba, a fun and easy project designed to introduce young kids to birding and give them a way to practice looking through their own, homemade binoculars.

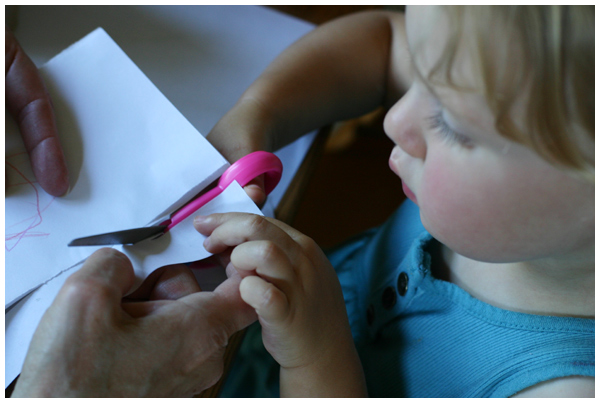
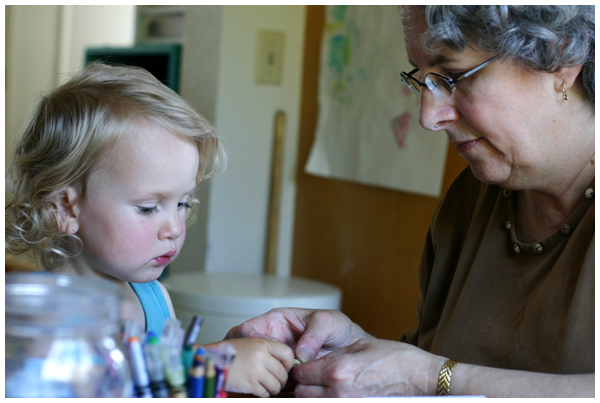
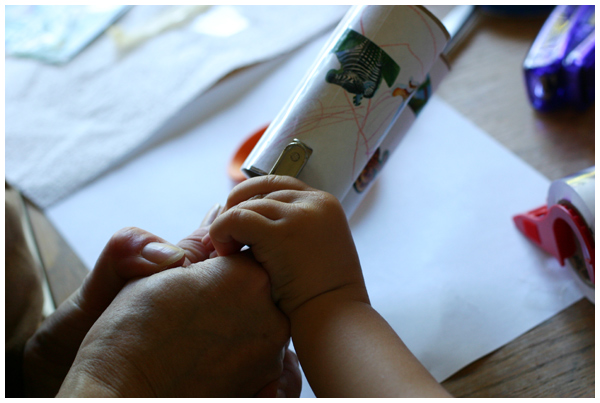
Grandma began by cutting a paper towel roll in half. With the intention of wrapping a piece of paper around each of the paper towel tube halves, Grandma and Miss Leyba then cut the paper down to size.

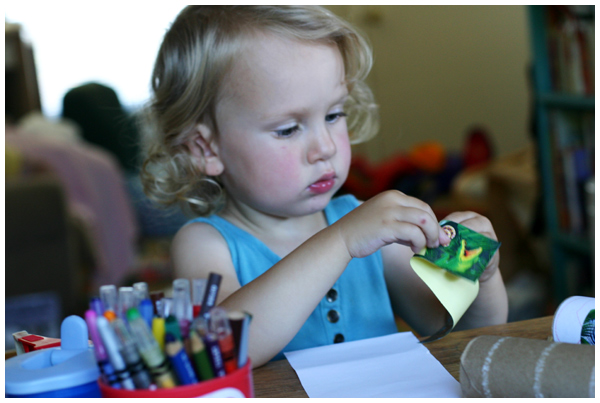
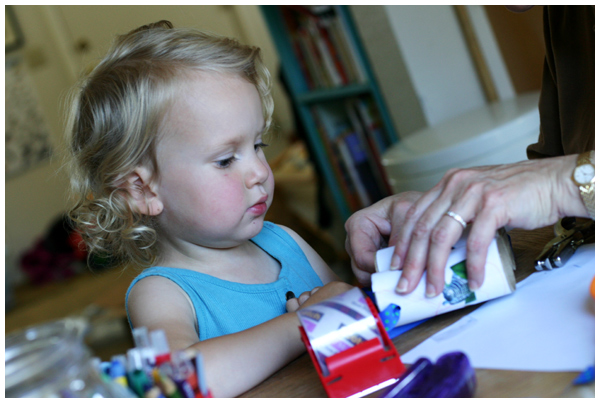
Miss Leyba decorated each piece of paper with crayons and stickers.

They then glued the paper to the tube.

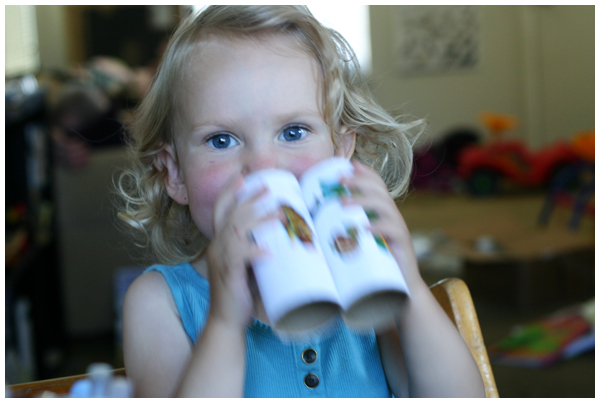
Grandma wrapped each tube with packing tape to seal the paper to the tube and to create a smooth surface to easily hold on to. My mom then stapled the two tubes next to each other lengthwise to form the binocular shape.


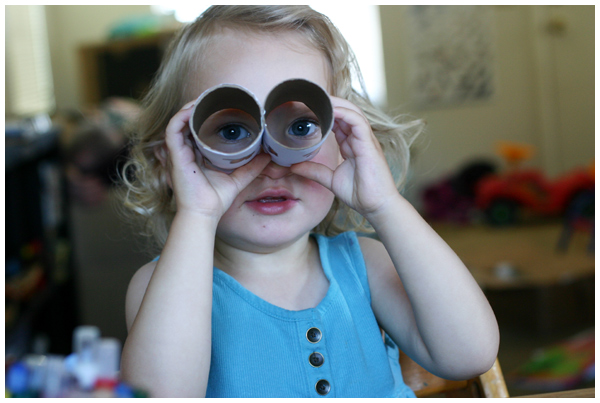
Phew! She can see out of them and they fit!

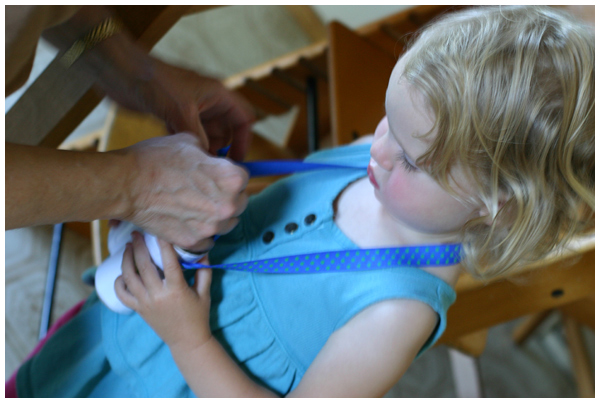
They then used a hole punch to make a small hole on the outside of each of the tubes.

They cut a piece of ribbon the length of a necklace (plus several inches for each side to tie on) and then attached it to the tubes so it could go around Miss Leyba’s neck.

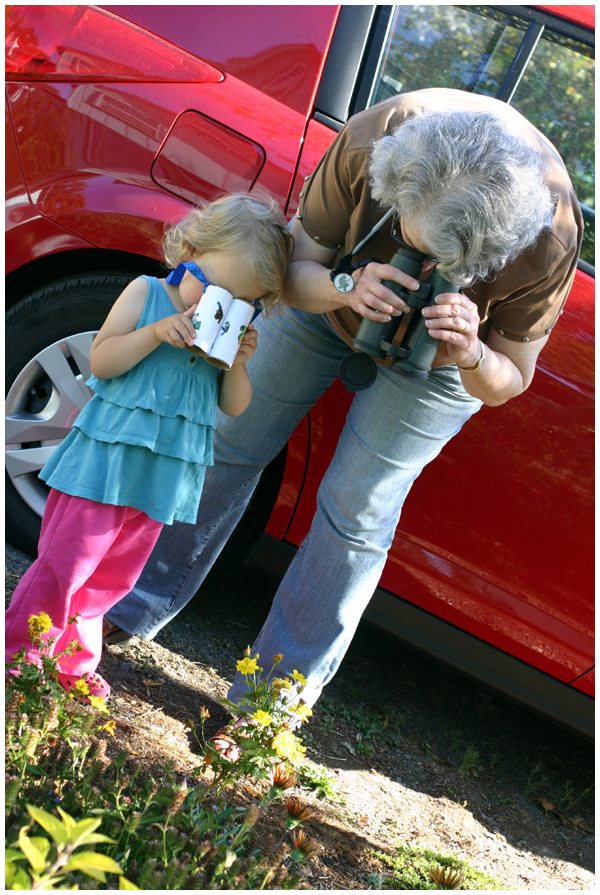
Finally it’s time to head outside and practice looking through those binoculars!

The first step is to practice finding/focusing on stationary items like flowers, leaves, rocks, bird feeders, and trees.

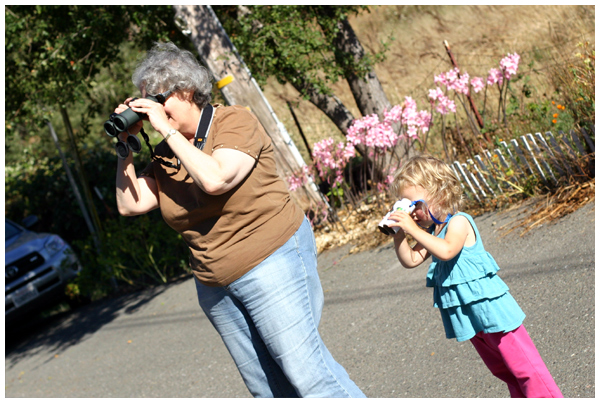
Finally, out in the field “birding” with Grandma.

Since this activity, going out birding has become a favorite activity around here. Thanks for the great project, Grandma!