Project Life Thank You Notes

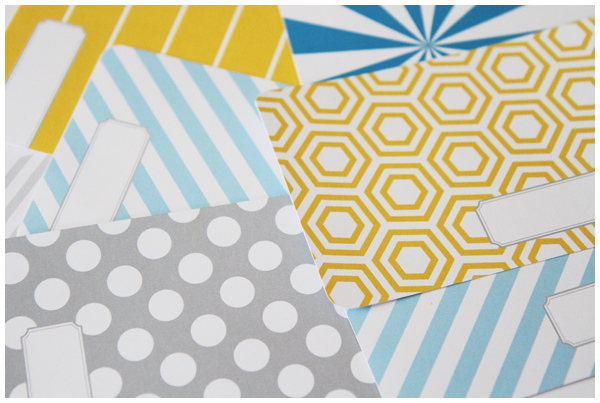
I recently found myself in the midst of writing thank you notes when we ran out of stationary. In a pinch, I remembered the stack of journaling cards I’ve collected for my new hobby, scrapbooking. (More on that soon. I know, just what I need: another addiction distraction project!)

Project Life Thank You Notes

I’ve been accumulating digital editions of Project Life (a scrapbook memory-keeping system created by Becky Higgins). Each set contains beautifully designed cards that serve as creative-sparks and placeholders to use throughout an album. The digital files come in PNG, but also in PDF so you can easily print the cards out yourself. (I keep cardstock on hand for such projects.)

Project Life Thank You Notes

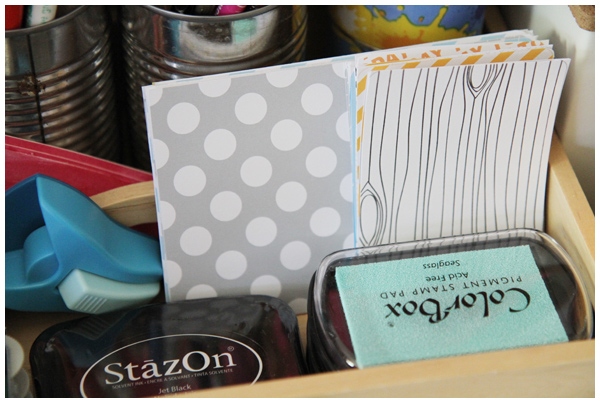
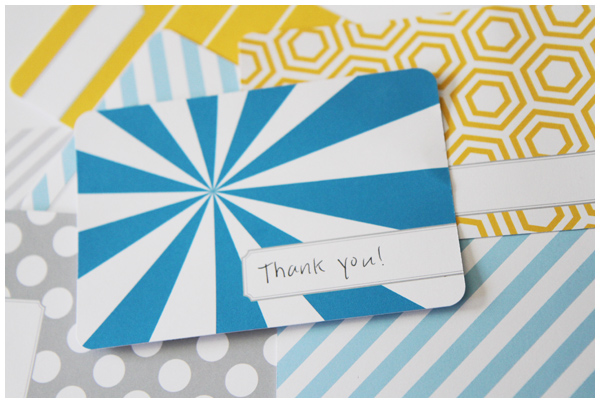
I decided to cut out some title and filler cards from the Seafoam and Midnight kits (available digitally here) that I had printed on heavy white cardstock.

Project Life Thank You Notes

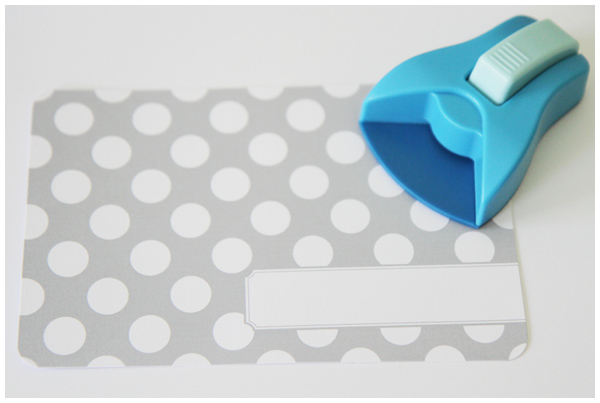
To make for a more polished look I used a rounded corner punch to transform the corners of the cards from square:
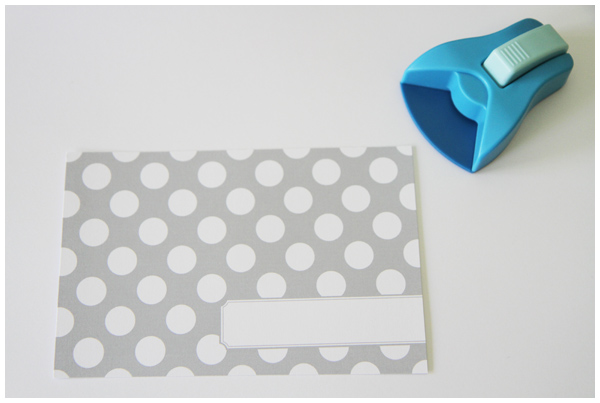
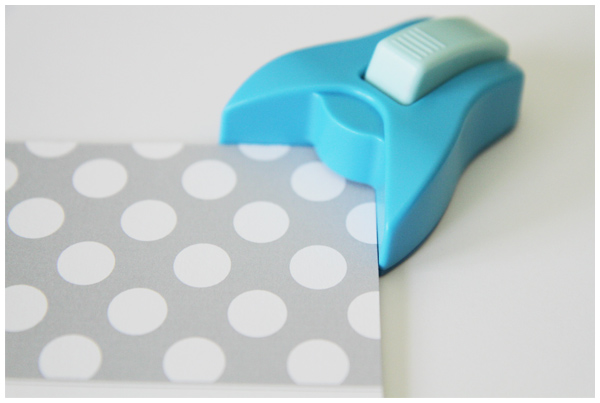
Project Life Thank You Notes

to round:

Project Life Thank You Notes

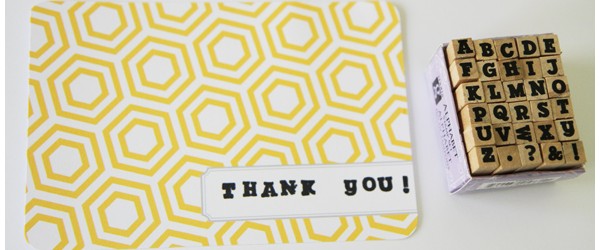
Most of the cards I wrote a handwritten “Thank you,”

Project Life Thank You Notes

but for some of them I borrowed an alphabet stamp set from my daughter to spell it out:

Project Life Thank You Notes

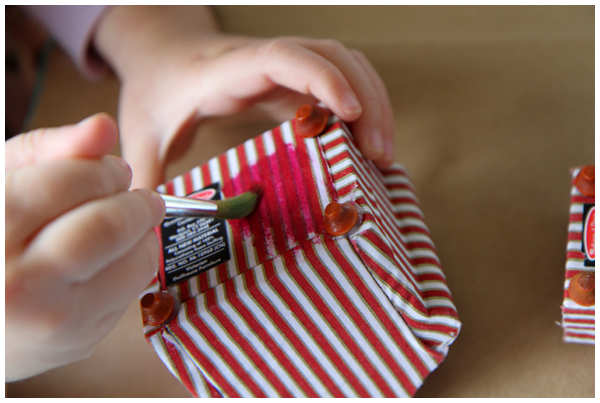
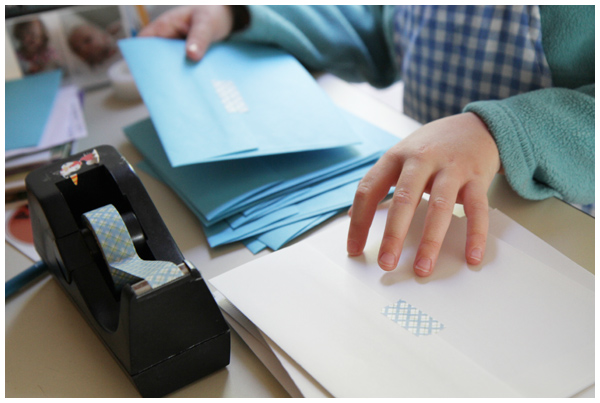
Another personalized touch involved washi tape, colorful Japanese masking tape we found at our local art supplies store. Instead of licking envelopes, we sealed them with a small strip of tape:

Project Life Thank You Notes

My favorite part of this simple project is that since the cards are digital I have a lifetime supply of stylish cards to print out any time.

Project Life Thank You Notes

I only wish I had thought of this earlier so that ALL my thank you notes looked so cute.

DIY Redwood Brass Hook Coat Rack

In our new house we desperately needed a coat rack. I scoured the internet for coat racks, found several that we loved that were outside our budget. $90 for a place to hang our coat?! No, thank you.

DIY Redwood Coat Rack

Instead David decided to make one for us. And “by David” I mean, of course, the Father-Daughter Leyba Team of Awesomeness (since our eldest wants to be involved in EVERYTHING):

DIY Redwood Coat Rack

David found brass hooks online and used an old redwood board left over from a friends’ deck project to create this beautiful, functional coat rack.

DIY Redwood Coat Rack

I love the aesthetic, cost, and that it was made by my sweethearts.

Added bonus: I’m THRILLED that coats are no longer strewn about our living room!

Thank you, loves.

Dollhouse Chairs, Repainted

We’re restoring a family heirloom, the dollhouse made for my husband’s grandmother when she was a little girl. Click here to see all the posts about our Dollhouse Redux Project.

Our daughter has a list of projects to do for the dollhouse. (We are SO related.) Evidently we have rugs to make, curtains to sew, tables to paint, wallpaper to hang… the list goes on and on! In our house, redecorating the dollhouse is just as fun, if not more so, than playing with the dollhouse.

One project we recently completed was the redux of several sets of chairs, including those white wicker chairs (on the bottom right), handmade by David’s grandmother, and the red, green, and yellow metal chairs (in the center):

Dollhouse chairs before paint

To no one’s surprise our daughter decided those chairs just had to be pink. Evidently the plain white and striped colors had to go.

We transformed those chairs using spray paint:

Painting dollhouse furniture

In keeping with the chair painting theme, our daughter decided we also had to redux our living room seating (thank you to Christina and Matthieu for the set!):

Dollhouse living room furniture before our redux

She painted the upholstered sofa, chairs, and ottoman using Jacquard fabric paint:

Painting dollhouse furniture

We decided to paint the upholstery with just one coat so the stripes continued to show through (certainly more fancy than having a plain magenta couch).

Here’s a sneak peak of all of the chairs after:

Dollhouse chairs after being painted

(We incorporated some of the hand-sewn cushions I made as stocking stuffers. The cushion on the right features Daisy Cottage fabric by Lori Holt of Bee In My Bonnet.)

Our daughter AND the dollhouse family LOVES their “new” chairs. Phew. One more thing checked off the to-do list!

DIY Plant Marker Tutorial Round-Up

Even though I know the names of most (okay, many!) of the plants in our garden, I try to label all of our plants and vegetables. I find plant labels are important in refreshing my memory each season, as well as being an invaluable learning tool for our daughter as she grows and learns the plant names herself.

Newly planted Yarrow

I tend to reusue the labels from our local garden center, strictly out of laziness and economy. I love the idea of making more durable and attractive plant markers that we can reuse year after year.

Here are some inspired handmade plant marker tutorials that I’m eager to try:

Featured above:
1. Antique Spoon Plant Marker Tutorial (pin/source)
2. Wine Cork Herb Labels (pin/source)
3. DIY Stamped Plant Marker (pin/source)
4. Make your own garden markers with jar lids and dowels (pin/source)
5. DIY Twig Plant Markers (pin/source)
6. Simple herb marker — permanent pen on pots! (pin/source)

(In writing this post, I noticed a multitude of chalkboard garden marker tutorials out there. Who wants a label that washes off when you water the garden?! Talk about impractical. I just don’t get it.)

Which plant marker is your favorite?

View these and many garden related projects, including several other garden marker tutorials, on my Garden Inspiration Pinterest board.

(images obtained via Pinterest)

The State of the Dollhouse

Playing with her Dollhouse
Dollhouse furniture mess
Dollhouse pile of people mess

There’s no doubt about it: ours is a lived in dollhouse.

After several months of inactivity (recovering from my three day marathon painting session to get it ready for Christmas morning!), we’re back to working on the dollhouse.

When your dollhouse family insists that they need a pink sofa, you happily oblige:

Painting dollhouse furniture

What house is complete without books strewn throughout the house and tucked safely away in cupboards?!

Dollhouse bookshelves in the living room

Cleaning and laundry is so much more fun when there are small sized mops and laundry facilities available:

Dollhouse laundry room
Dollhouse kitchen
Dollhouse bedroom

Next up: hang wallpaper in the living and sew curtains for the house. We also have plans to sew a black and white rug to go under the sofa.

We’re loving the process as much as the play. Isn’t that what it’s all about anyway?!