This may look like a Valentine’s Day project–and, yes, it certainly could be!–but in our house these adorable crayon hearts are for a certain little girl’s birthday party at the end of the month!
These melted crayon hearts are super simple to make and a great reuse project for any old, broken crayons you have lying around.
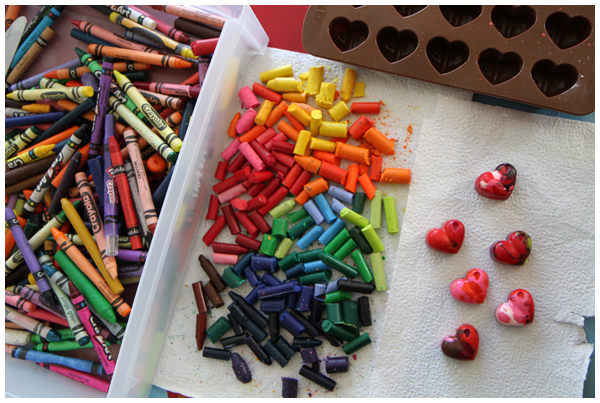
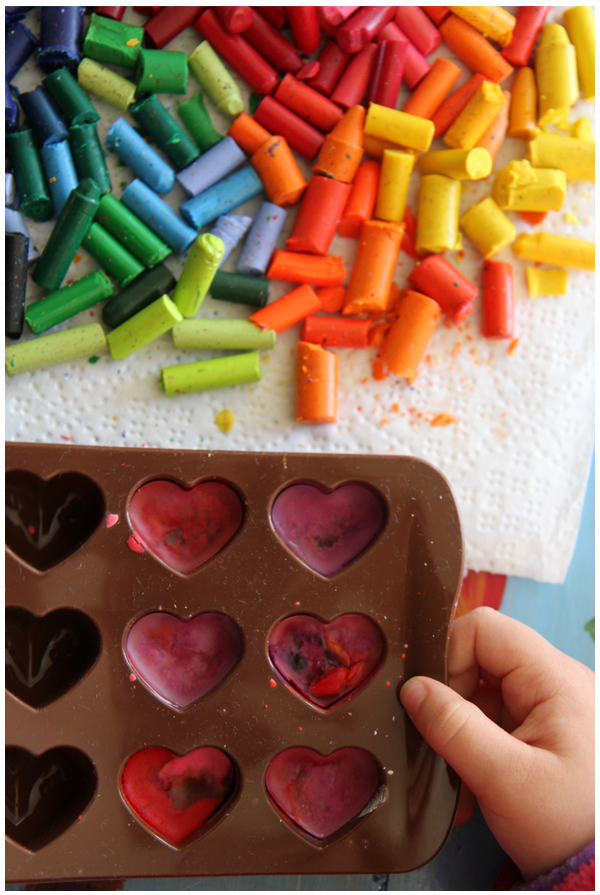
First gather your crayons and peel the paper off each of them, a favorite kid activity in our house:

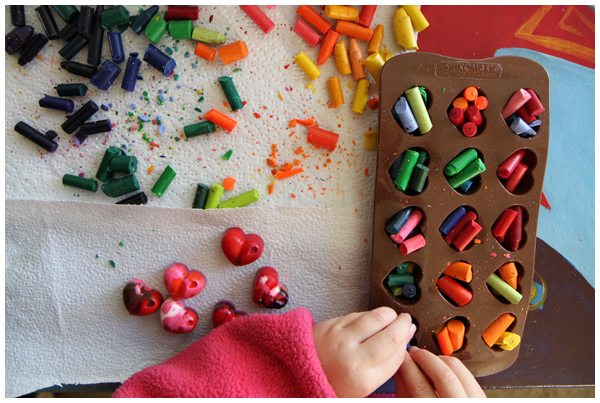
Using your hands, break each crayon into several small pieces so that they will fit inside your mold. We used silicone molds that are meant for candy-making and are available in a wide variety of shapes including dinosaurs
, shoes and purses
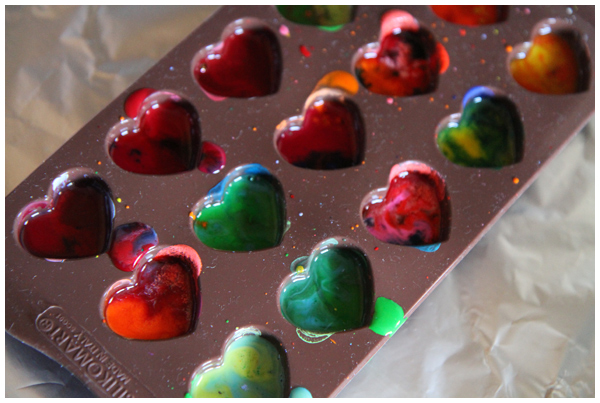
, or the hearts
shown above. Amazon
or your local baking supply store has you covered.
Unfortunately, the downside to using these cute molds for this project is that once you’ve melted crayons in them you can no longer bake with them. Sigh.
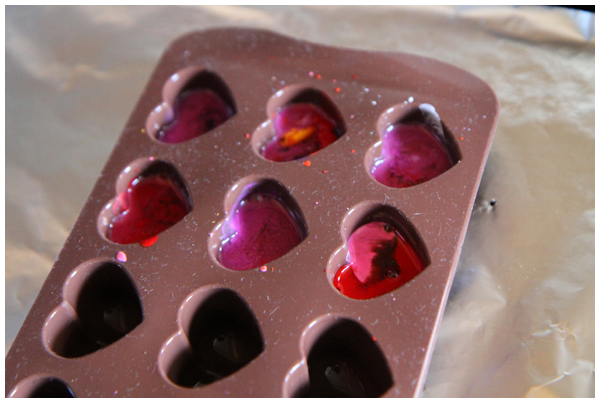
Place the molds in a preheated 250 degree oven for 10-15 minutes until the crayons have completely melted:
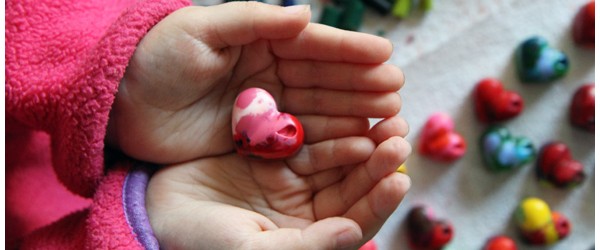
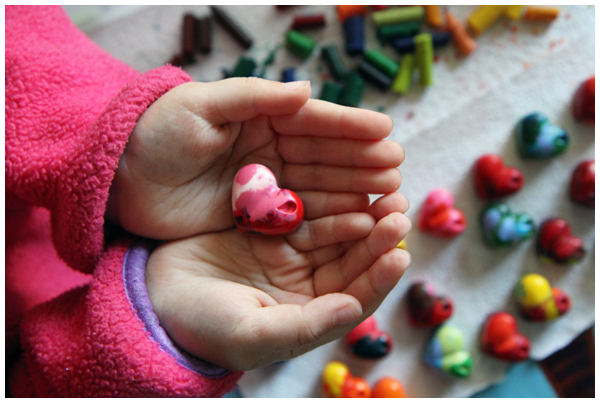
Let them cool for twenty minutes and then pop them out of the mold:
Your new, adorable chunky crayons are ready to use!

Or, in our case, ready to place into favor bags for our guests. Such fun!
Thanks to From An Igloo for the inspiration and how-to! Found via Pinterest.
Oh wow how fun! They came out so adorable! Really love the luscious colors of the broken crayons laid out!! Your camera is incredible!
What fun!!!! Could you please mail me one (or a few)???
So cute! I have had this on my mind for a while to try – now I just need a willing crayon-peeler! And your Mom is right, your pictures are always gorgeous!
Now THAT is a brilliant (and easy) project! I am definitely making a mental note on this one — I’d never seen crayon-melting done this way before, but it makes perfect sense that it would work. Totally awesome party favors!
Thanks for this post! Griffin and I tried it today with all the stubby, old crayon pieces we had lying around and the results were wonderful. He loved the process and the product. So much fun!
Wow! This is just amazing and would even make a great table centerpiece if placed in a bowl. Just as long as nobody bites it :)
I love that you’re giving these out as party favors. I hate the fact that kids parties have become a buy-buy-buy fest, particularly since party favors tend to be the kind of clutter you really don’t want to bring into your home. This is a great way to recycle and give your guests something unique that they’ll love and use! Love it!
what fabulous party favors! fun, useful, and made by miss leyba herself :)
We’ve done these numerous times, with teeny tiny muffin tins from the thrift store, and the silicone molds. Best ones to use are those you find in the bargain aisles at Target… hearts for V-day, stars for July 4th, bats for H’ween, trees for Christmas. Fun to “design” the color mixes (add some mica flakes, too!), fun to melt, fun to color with!
Love this — so cute!
So cute/fun!!! I’m gonna make some too!